

Getting Started with Minecraft: A Complete Beginner’s Guide
Minecraft still stands apart because it deliberately moves against modern visual standards. Its blocky look can seem simple at first: readable textures, square shapes, and a world that almost looks raw. But the depth of the game is not in photorealistic graphics. It is in the possibilities hidden behind those blocks.
Minecraft lets players survive, build, explore, automate, tell stories, create servers, install mods, and play alone or with friends. Very few games rival that range, clarity, and freedom.
That is why Minecraft feels like a true gaming outlier, one of those rare titles that should not work this well, but does. This guide gives you a clear starting point. It covers the core ideas of the game, choices to make before creating a world, what to do during your first day, and how to progress naturally toward exploration, customization, and multiplayer.
Understand What Minecraft Is About
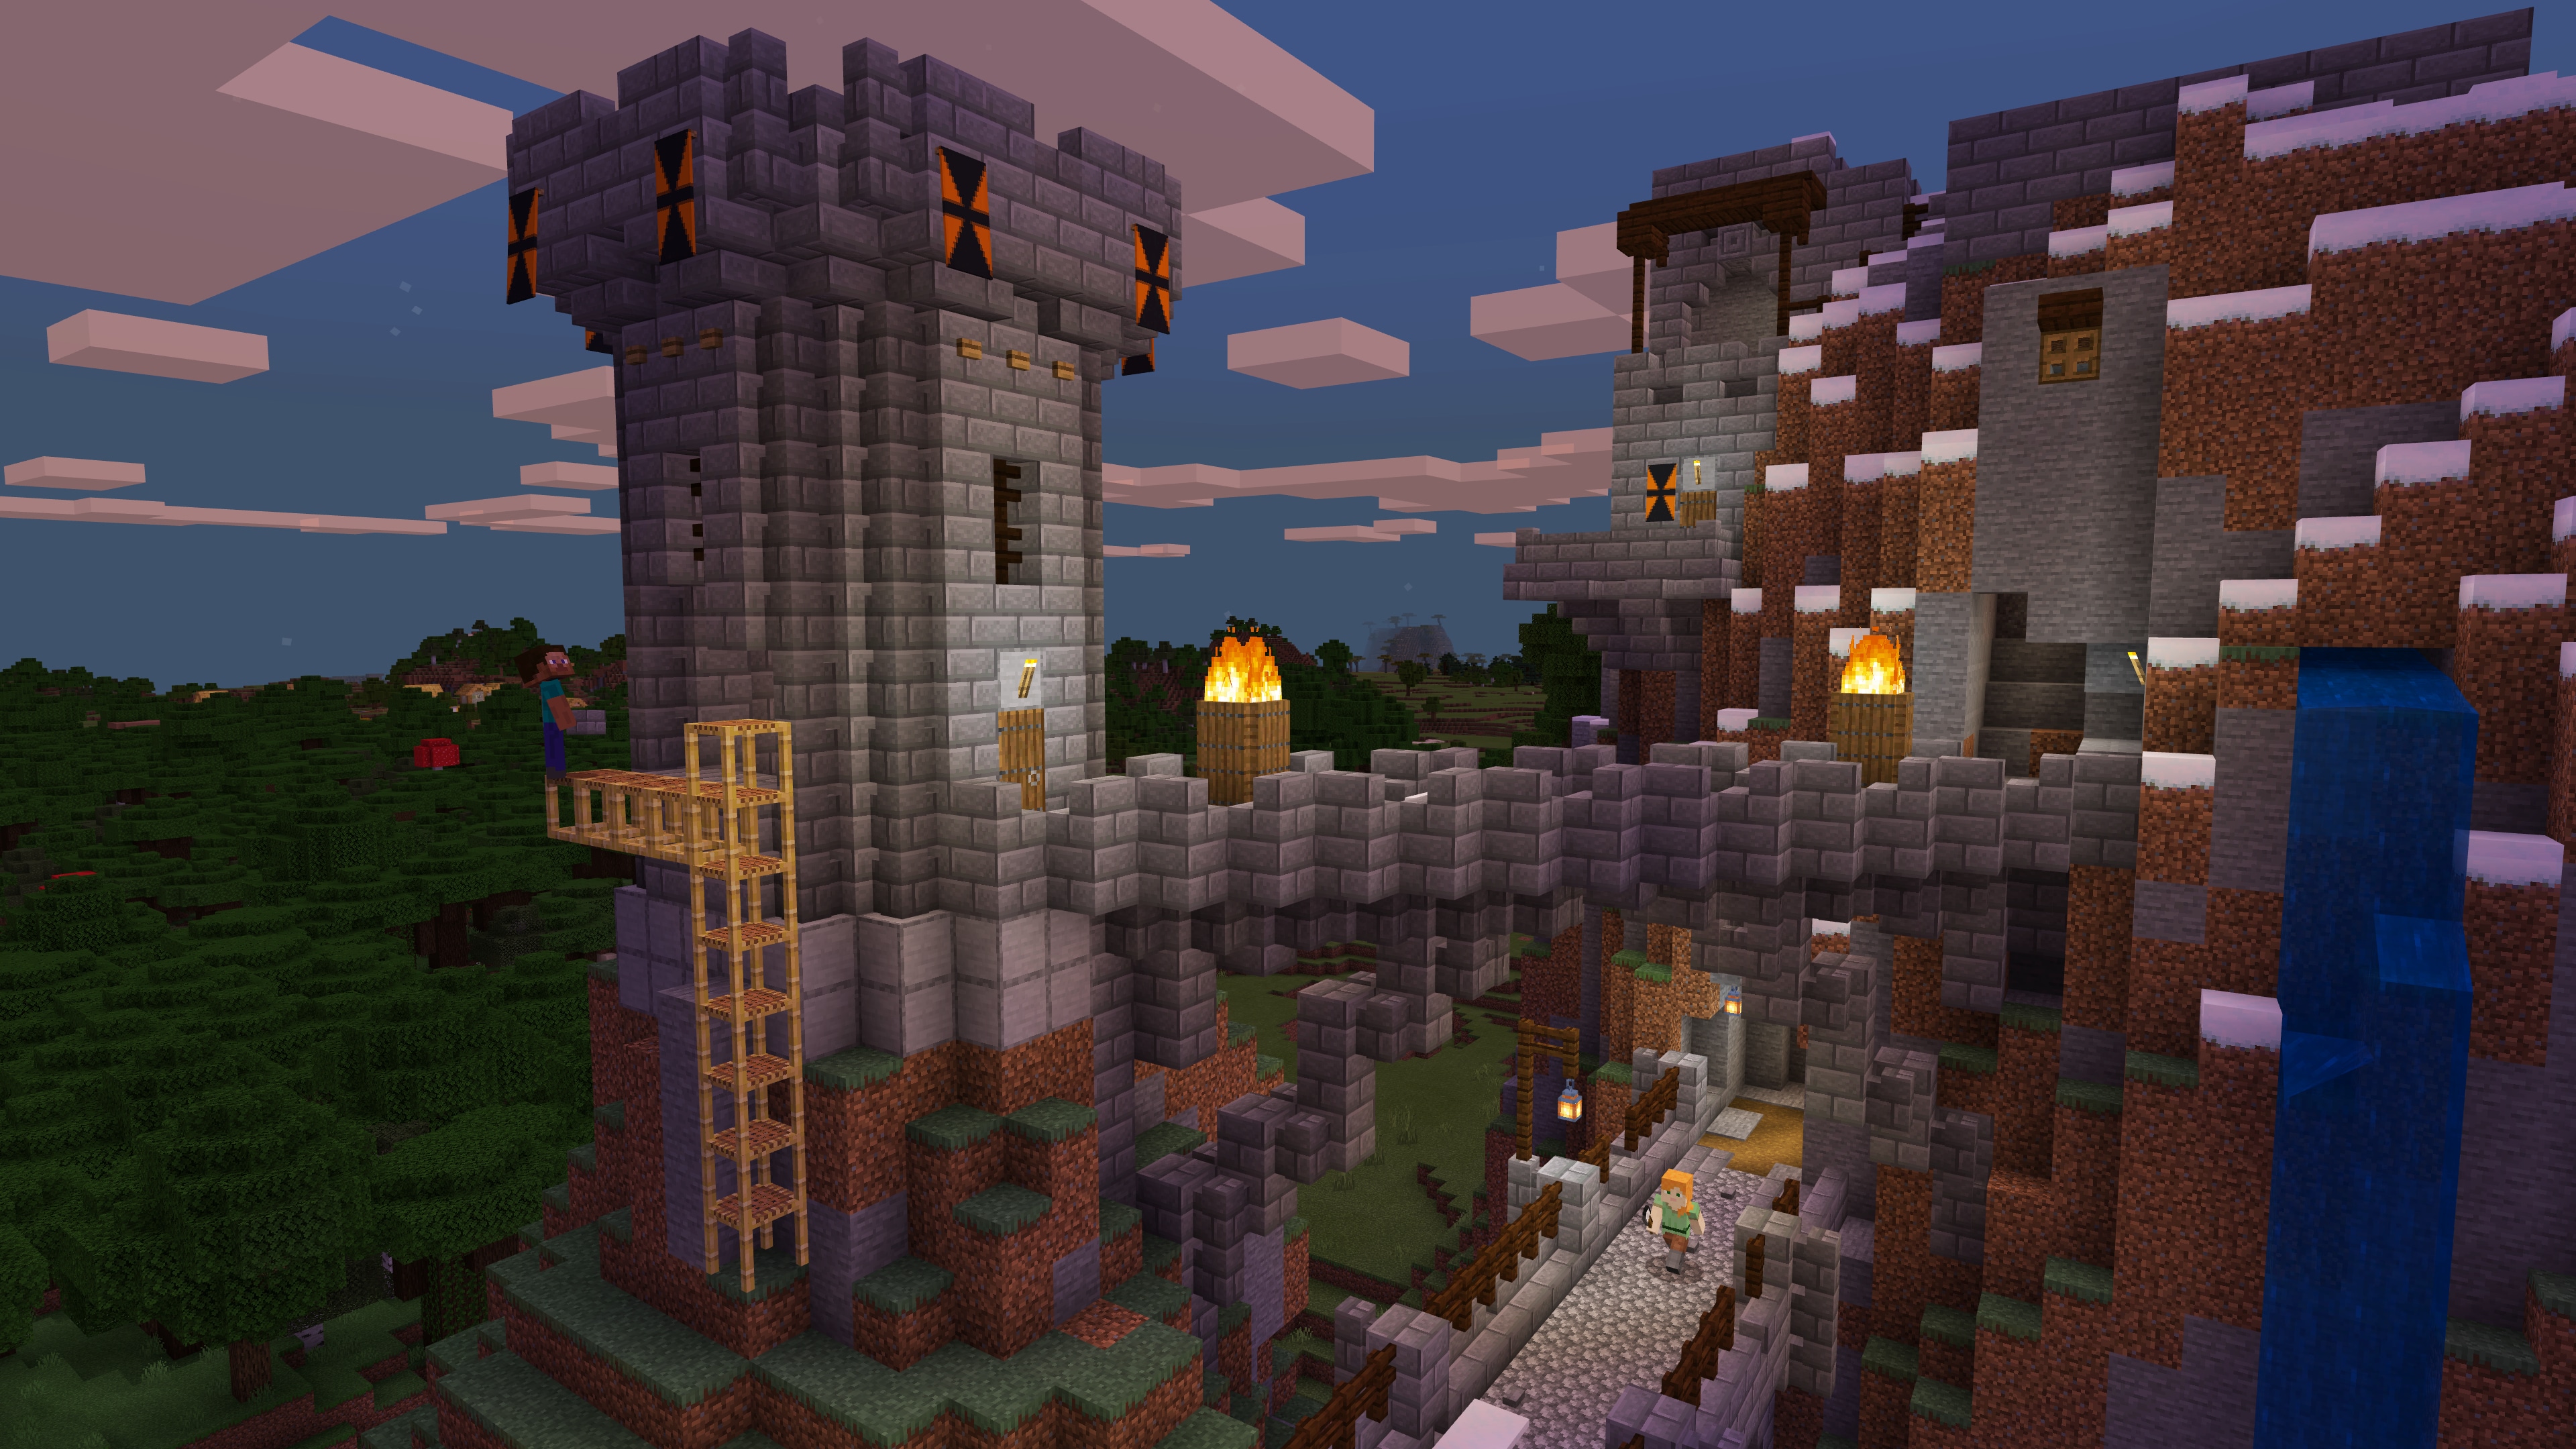
Minecraft is a sandbox game, but its core is first a survival experience. It drops you into a procedurally generated world, without a forced storyline, without a classic quest log, and without a mandatory objective on screen. At first, the goal is simple: stay alive.
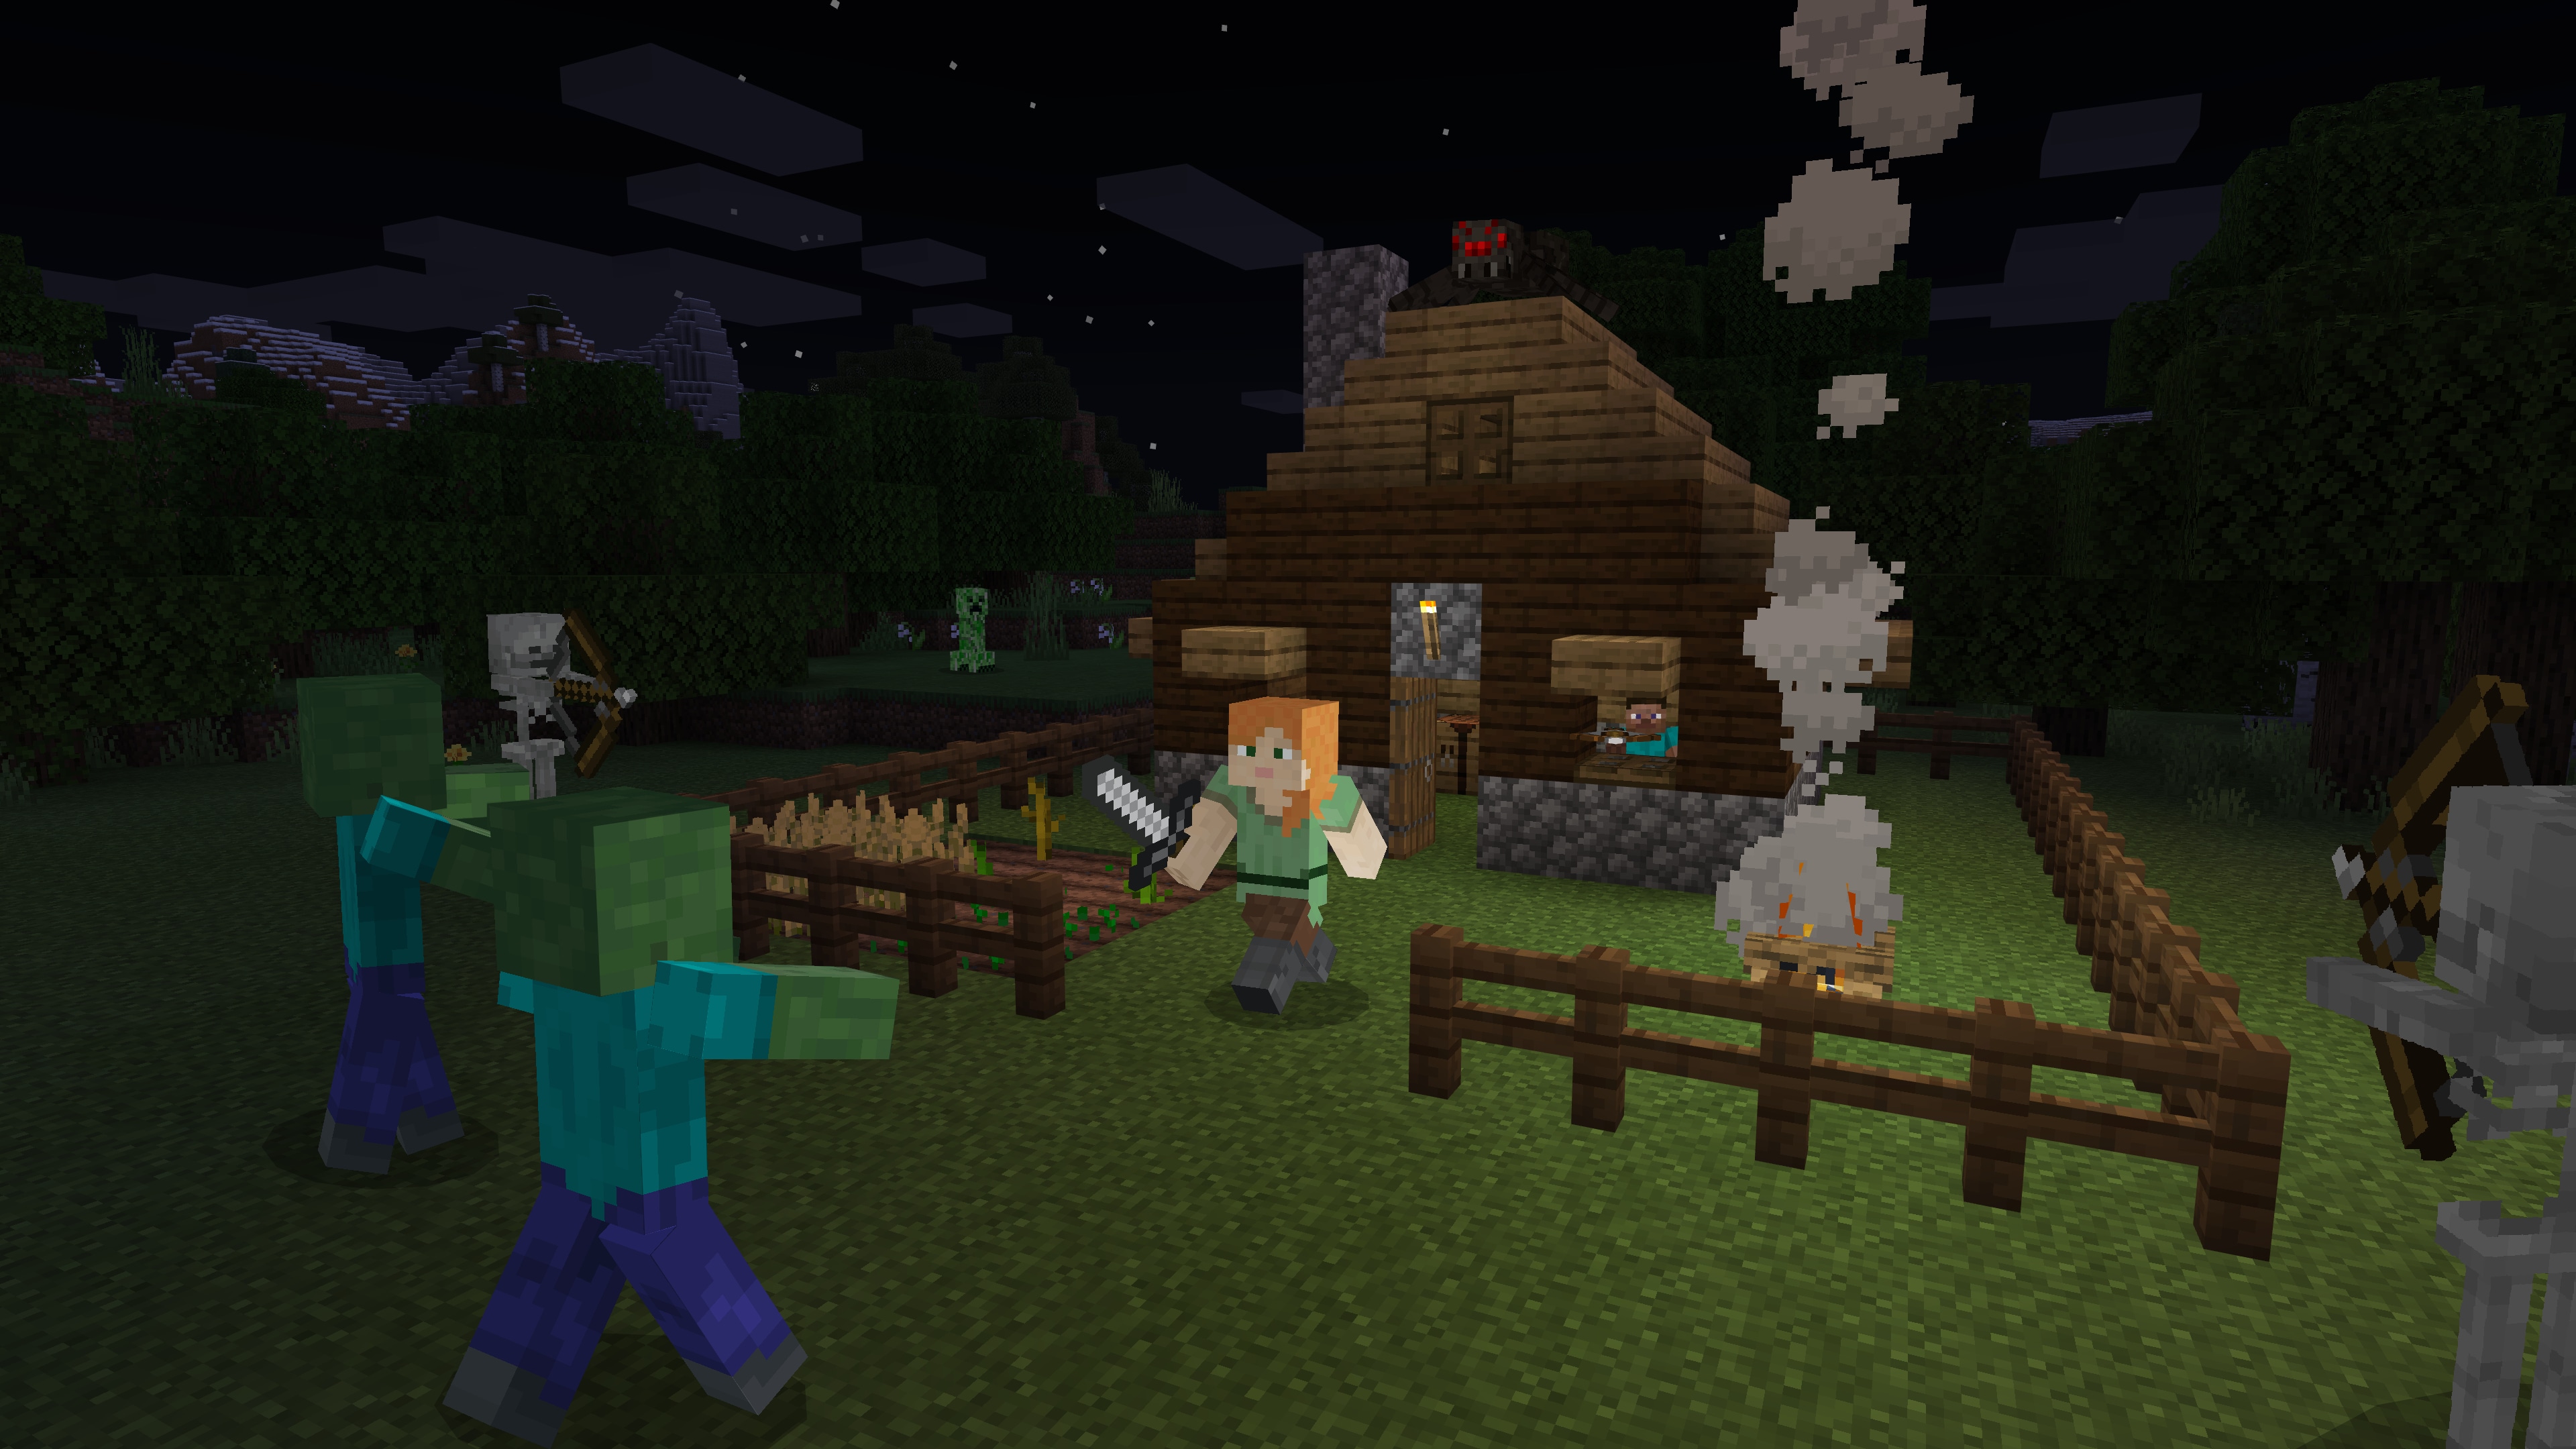
The world is not just scenery. Daytime is for gathering wood, finding food, and choosing a place to settle. At night, dark areas and caves can spawn hostile creatures: zombies, skeletons, creepers, spiders, and other mobs quickly turn mistakes into real threats.
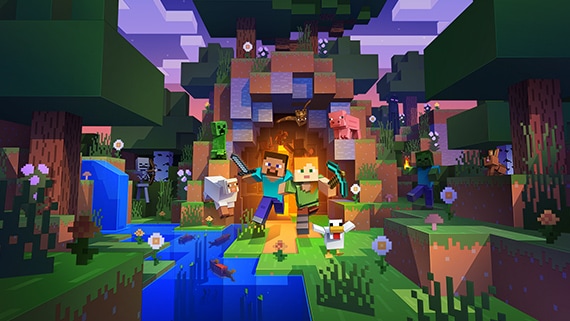
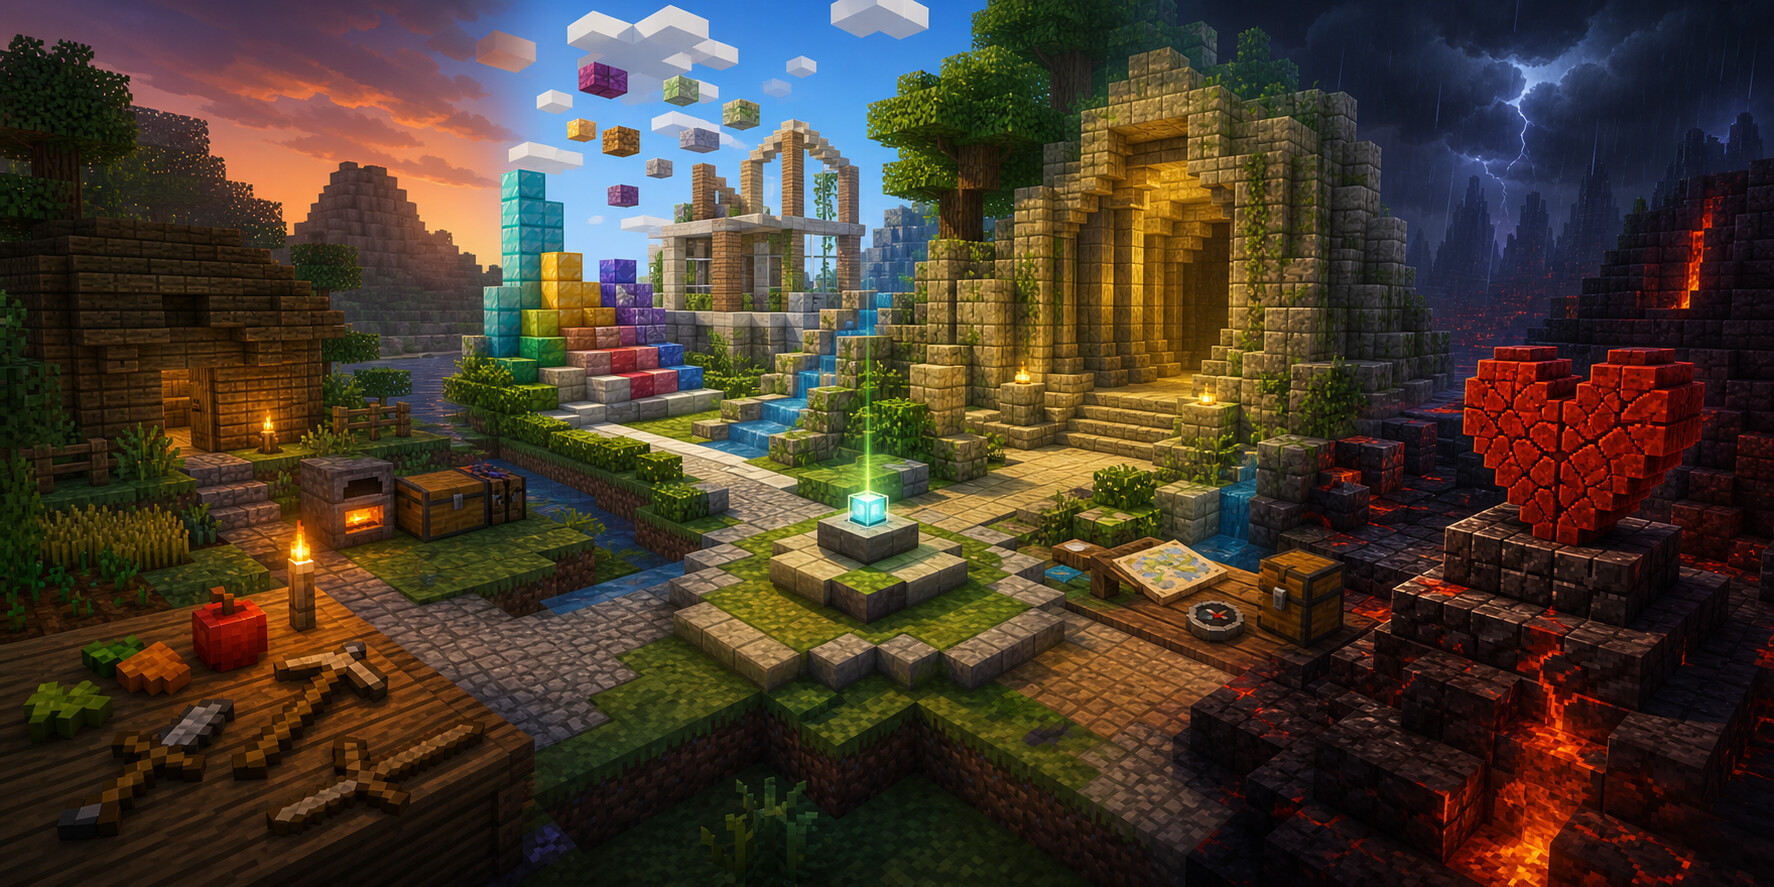
Vanilla Minecraft already contains far more than a grassy field with a few trees: biomes, villages, deep caves, abandoned mineshafts, dungeons, temples, ocean ruins, shipwrecks, the Nether, and eventually the End with the Ender Dragon. None of this is forced immediately: it is a set of possibilities, not a narrative rail.
The player decides the goals: build a house, secure a base, find iron, create a farm, enter the Nether, defeat the Ender Dragon, or build a whole town. Every seed, spawn point, nearby biome, and decision changes the run. No two Minecraft adventures really feel the same.
To get started, split that freedom into clear steps:
- survive the first nights.
- manage hunger, health, and mobs.
- understand crafting and recipes.
- build a safe first base.
- explore caves without getting lost.
- progress later toward redstone, dimensions, bosses, mods, and multiplayer.
Choose the Right Game Mode
For a first real playthrough, Survival mode is usually best: you collect resources, manage health and hunger, avoid monsters, and improve your gear. Set difficulty to Easy or Normal to learn without too much pressure.
Creative mode is for building freely: unlimited blocks, flight, no hunger, and no normal damage. It is perfect for testing a house, farm, or redstone design before rebuilding it in Survival. Peaceful difficulty can help you learn controls, but it removes much of the survival tension: use it for testing, then move back to Easy or Normal.
Adventure mode is mostly used for custom maps. Hardcore locks difficulty to Hard and gives you one life only, so save it for later.
Create Your First World Step by Step
If you are opening Minecraft for the first time, do not start by changing every option. Choose singleplayer, create a new world, select Survival, then keep a simple difficulty such as Easy or Normal. You can enable the bonus chest for a softer start, but it is not required.
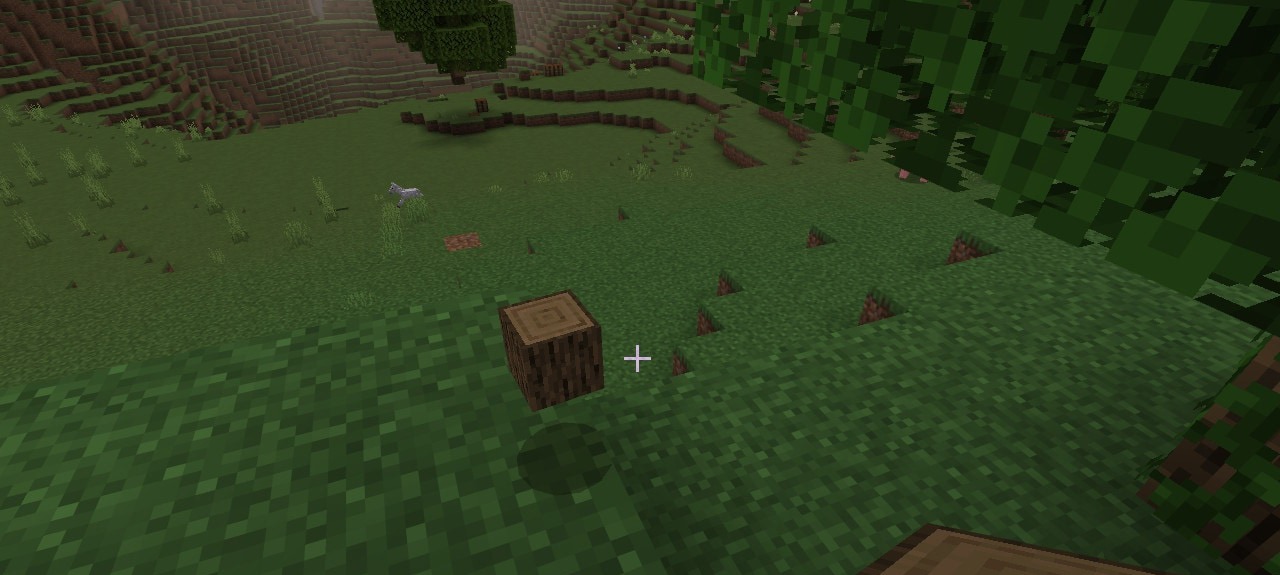
Once you appear in the world, take a few seconds to look around. The bar at the bottom is your hotbar: it shows the items you can hold quickly. Hearts are your health, hunger icons are your food level, and the small crosshair in the center shows the block or creature you are targeting.
Your first action should be very simple: find a tree and break wood blocks by holding the attack button on the trunk. It sounds basic, but this is the real beginning of almost every Minecraft world.
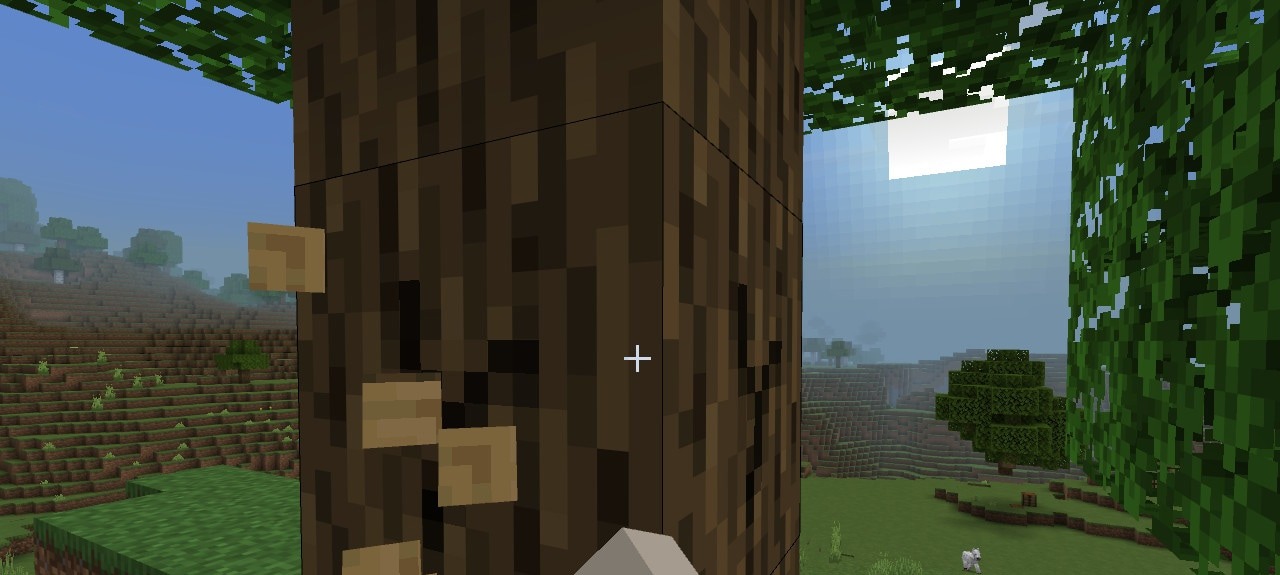
When a block drops on the ground, just walk over it to pick it up. Wood enters your inventory, then becomes planks, sticks, a crafting table, and your first tools.
Controls, Inventory, and Death: Key Basics
Before running everywhere, learn the actions you will use constantly. On PC, exact keys can vary with your keyboard and settings, but the idea is always the same: move with the movement keys, jump with the jump key, look around with the mouse, and use the hotbar at the bottom of the screen to choose what you are holding.
The most important actions are simple:
- Break or attack: hold left click on a block, or click a mob.
- Place or use: right click with a block, door, furnace, crafting table, or food.
- Open your inventory:
Eon PC opens your items, the 2x2 grid, and the Recipe Book. - Change held item: use the mouse wheel or keys
1to9to move through the hotbar. - Sneak: the sneak key helps you avoid falling from edges and place some blocks more precisely.
If your hearts reach zero, you die and respawn at the world spawn point, or at the last bed you used correctly. Your items drop on the ground where you died: write down important coordinates and go back quickly. If your bed is broken, moved, blocked, or inaccessible, the game may send you back to the original spawn.
A bed is therefore used both to skip the night and set your respawn point in the Overworld. On multiplayer servers, skipping the night depends on server rules: sometimes one player is enough, sometimes several players must sleep. Do not try to sleep in the Nether or the End: beds explode there. To set a respawn point in the Nether, use a respawn anchor charged with glowstone. Each respawn consumes one charge, and a charged anchor used outside the Nether can also explode.
How to Craft: The Key to Creation
Crafting is the progression engine of Minecraft. Almost everything starts as a raw resource found in the world, then becomes something useful: logs become planks, planks become sticks, sticks become tools, and tools let you reach better materials.
Minecraft uses two crafting grids:
- The inventory grid (2x2): available from your inventory at any time. It is enough for simple recipes such as planks, sticks, and the crafting table.
- The crafting table grid (3x3): available after placing a crafting table on the ground. This is the main crafting grid: tools, weapons, armor, furnace, chest, shield, bucket, and many other items use it.
When you open the inventory, focus on the small 2x2 grid and the result slot on the right. Crafting always works the same way: you place ingredients in the grid, the game shows the possible result, and you take the created item. The ingredients are only consumed when you take the result.

To craft manually, open your inventory or crafting table, place ingredients in the grid, then take the item that appears in the result slot. Some recipes accept equivalent materials, such as different wood types. Others require a precise shape: a pickaxe uses three materials across the top and two sticks in the center, a sword is built vertically, and a furnace uses eight cobblestone blocks around an empty center.
The First Crafts to Make
The first recipe to understand is also the most important one: turning a log into planks. Open the inventory, place a log in the 2x2 grid, then take the planks from the result slot. One log becomes several planks, which starts the whole early-game chain.
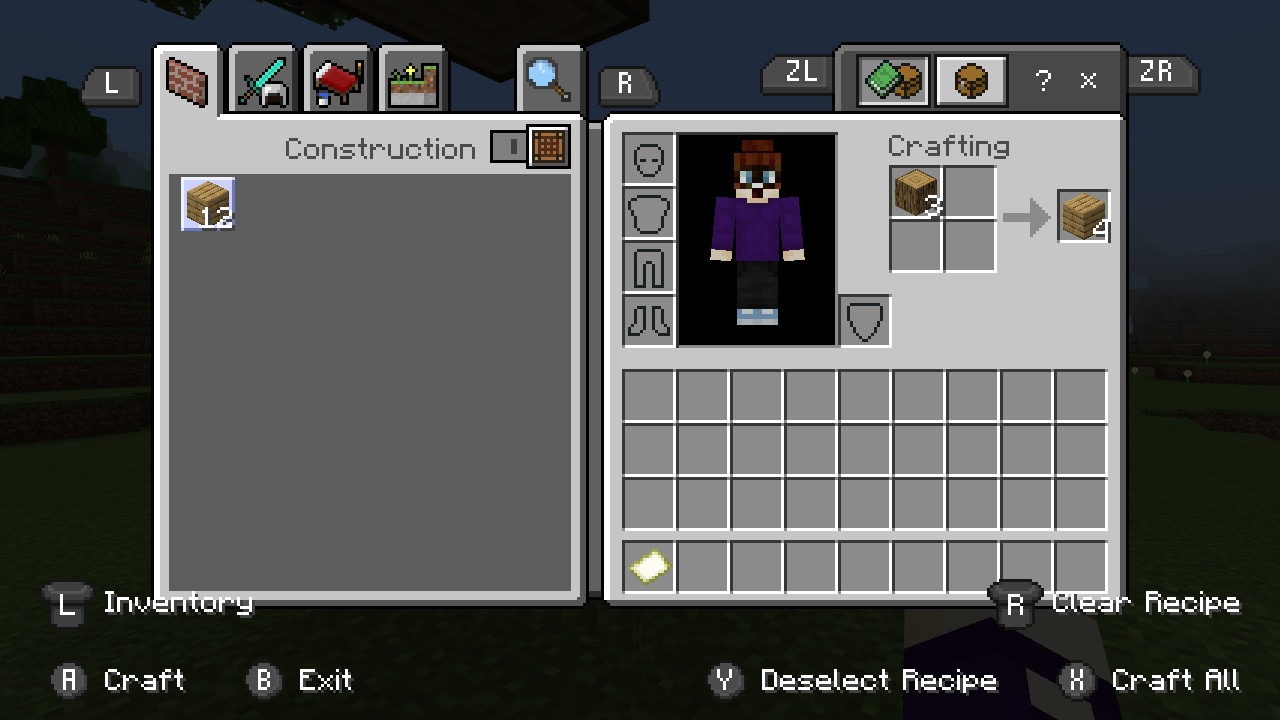
From there, follow this simple order:
- Logs into planks: punch a tree by hand, pick up the logs, then turn them into planks.
- Planks into a crafting table: place four planks in a square inside the 2x2 grid. This gives you the crafting table.
- Planks into sticks: place two planks vertically. Sticks are used for tools, torches, fences, ladders, and bows.
- Wooden pickaxe: place the crafting table, open its 3x3 grid, put three planks across the top row and two sticks down the center. It mainly lets you mine stone.
- Stone pickaxe: mine stone with the wooden pickaxe, then repeat the pickaxe shape with three cobblestone blocks instead of planks.
- Furnace: place eight cobblestone blocks around the 3x3 grid, leaving the center empty. It cooks food, makes charcoal, and smelts iron.
- Torches: combine one stick with coal or charcoal. Torches are essential to light your house, mine, and prevent hostile mobs from spawning in dark areas.
The crafting table recipe shows the idea clearly: four planks in the 2x2 grid create the item that unlocks the full 3x3 grid.

A good beginner rule is to ask: what item is blocking me right now? If you need stone, craft a pickaxe. If you want to mine longer, craft torches. If you want to survive the night, you need light, shelter, and ideally a bed.
Where to Find Recipes
You do not need to memorize every recipe. In your inventory or crafting table, click the green book icon to open the Recipe Book. It shows recipes as they unlock when you collect new materials.
The book is especially useful at the start because it shows what you can craft with the materials you have already picked up.
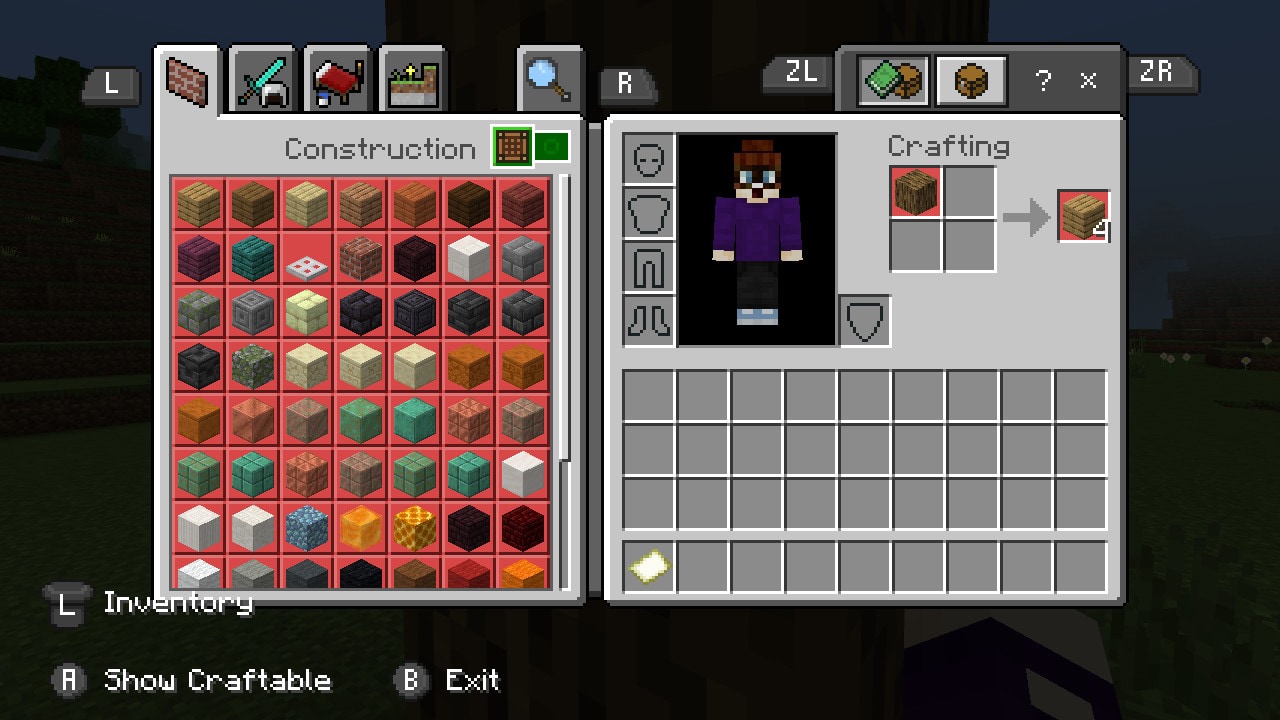
If you have the required ingredients, clicking a recipe fills the grid automatically. If a recipe is visible but cannot be crafted, you are simply missing one or more components. Use the book as a constant guide: collect a new resource, open the book, see what it can make, then craft what helps your next goal.
Gathering Raw Materials
Your first materials are straightforward:
- Wood: punch a tree, turn logs into planks, then sticks and a crafting table.
- Stone: craft a wooden pickaxe, mine stone, then upgrade to stone tools.
- Coal or charcoal: look for coal in hills and caves, or smelt logs in a furnace.
- Food: break grass for seeds, hunt a few animals, or harvest village crops.
- Wool: collect three matching wool blocks to craft a bed with three planks.
- Raw iron: mine iron with a stone pickaxe, then smelt it into ingots.
Each material often unlocks the next one. Do not rush for diamonds before you have food, torches, a furnace, a stone pickaxe, a shield, and some iron.
After Those First Crafts
Once planks, sticks, pickaxe, furnace, and torches make sense, your priorities are simple: cook food, find some iron, craft a shield, then make a bed if you have enough wool. Crafting stops being a list to memorize: ask what item blocks you now, which resource is missing, and which tool helps you get it.
Tool Progression
Upgrade your tools to harvest rarer blocks:
- Wood: gets you started and mines stone.
- Stone: mines iron and speeds up early resource gathering.
- Iron: becomes the real survival standard and mines gold, redstone, diamond, and emerald.
- Diamond: very durable and able to mine obsidian.
- Netherite: an advanced upgrade for diamond tools, obtained later in the Nether.
Essential Early Game Items
- The shield: made with iron and wood, it strongly protects against attacks from the front, especially skeleton arrows and creeper blasts if you react in time.
- The water bucket: extinguishes fires, turns lava into obsidian, helps you descend cliffs, and can even prevent fall damage with good timing.
- The furnace: cooks food, smelts iron and gold, makes charcoal, and transforms some resources such as sand into glass.
Cave Exploring and Mining Tips
To find valuable ores, you will need to go underground:
- Light your path: place torches regularly to reduce monster spawns and keep track of your route.
- Use a method: placing torches on the right-side wall while going in lets you follow torches on your left when coming back.
- Never dig straight down or straight up: you can fall into a pit, open lava, or drop gravel onto yourself.
- Prepare your inventory: bring food, torches, a spare pickaxe, building blocks, and, as soon as possible, a shield.
Before looking for rare ores, first learn to light your tunnels properly. A well-lit mine is easier to read, safer, and much less stressful for a beginner.
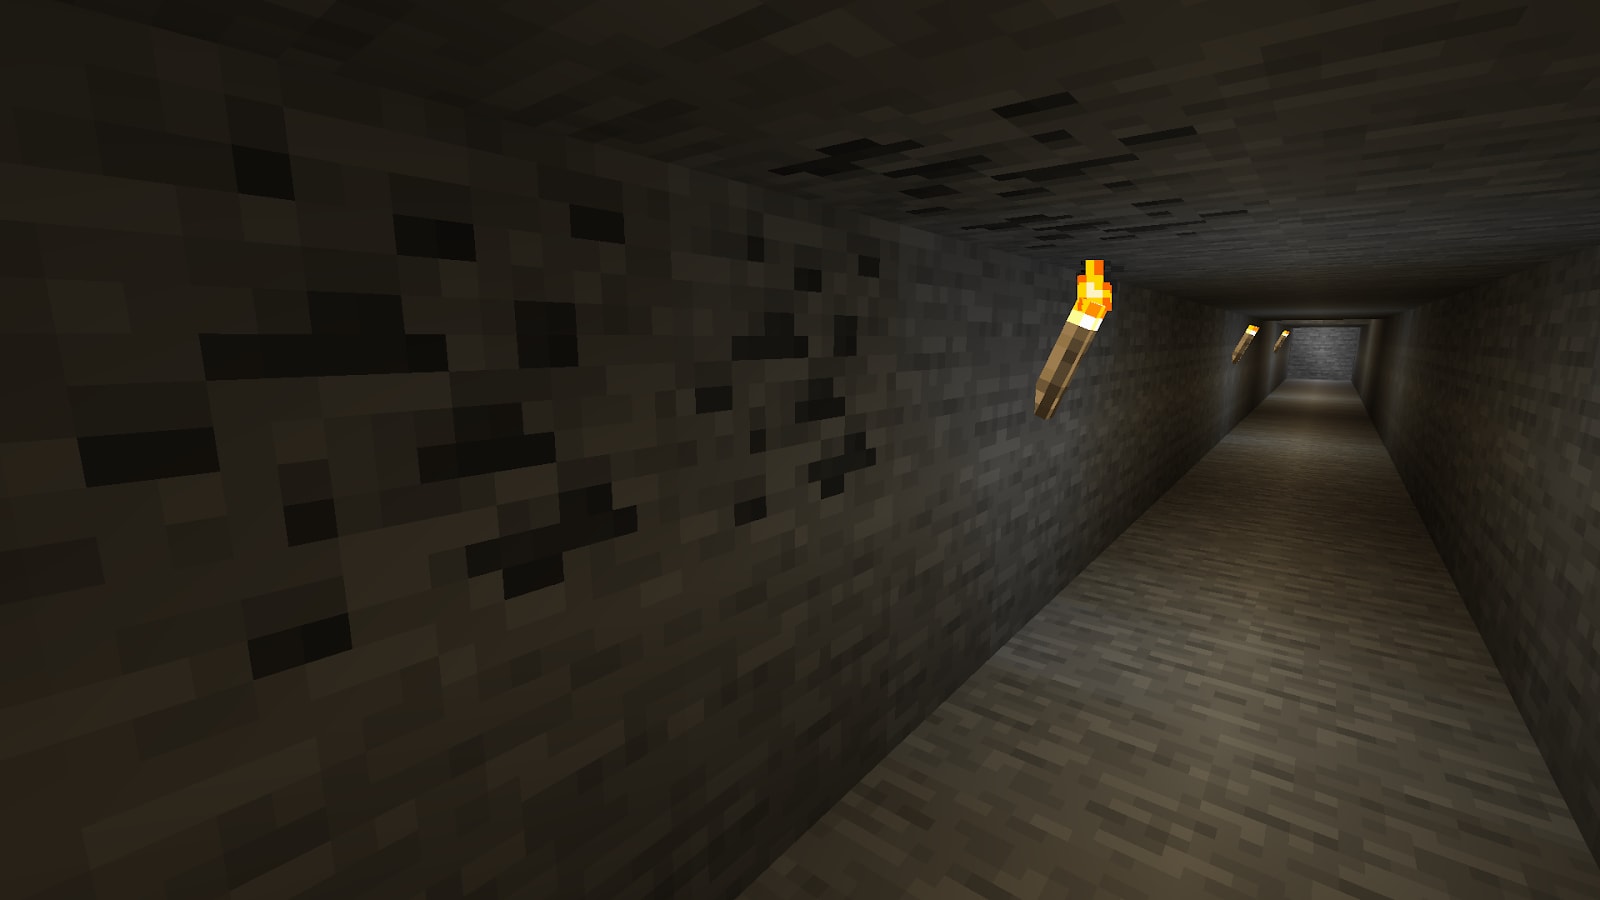
Once you are comfortable with that basic safety rule, you can go deeper and aim for rarer resources.

Your First 30 Minutes: Survive Day One
Your first day should be a clear checklist. If you understand crafting, the goal is now to get the right items before nightfall.
- Cut several logs and turn them into planks.
- Craft a crafting table, sticks, then a wooden pickaxe.
- Mine stone with the wooden pickaxe to collect cobblestone, then craft a stone pickaxe.
- Craft a furnace with eight blocks of cobblestone.
- Find coal, or make charcoal by smelting a log using wood as fuel.
- Craft torches, then light the entrance of your future shelter.
- Find simple food: nearby animals, apples, village bread, or accessible crops.
- If you find three wool of the same color, craft a bed with three planks.
Before sunset, build a very simple shelter: closed walls, complete roof, blocked entrance or door, torches inside and around it. If you do not have a bed, stay inside overnight and use the time to organize your inventory or cook food.
Hunger and Health
Your health bar and hunger bar are linked:
- Regeneration: your health regenerates only if hunger stays nearly full. If you are hurt, eat.
- Exhaustion: running, jumping, and mining drain hunger. If it reaches zero, you start losing health.
- Cook your food: use a furnace fueled with coal, charcoal, or wood. Cooked meat restores much more hunger and, especially, more saturation than raw meat.
After the First Night: Stable Food
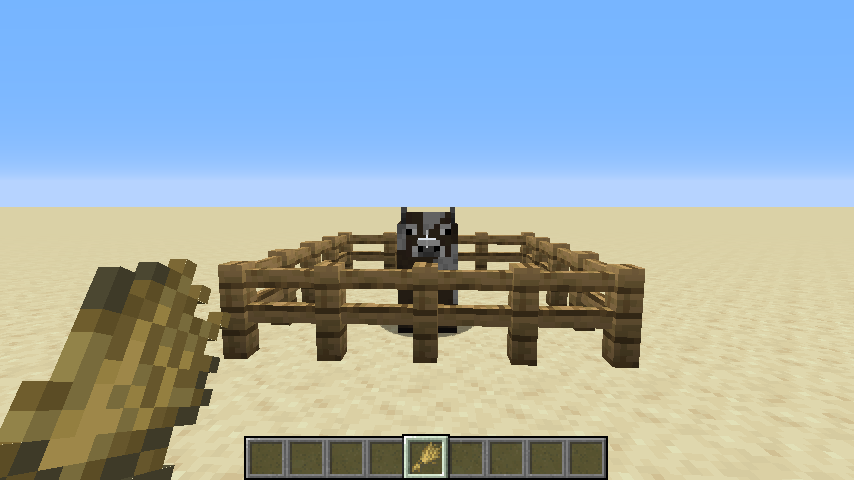
Once the shelter is safe, create a stable food source. With a hoe, till dirt near water to plant wheat seeds, carrots, or potatoes. With fences, lure cows or sheep while holding wheat, then breed cows for beef and leather, and sheep for mutton and wool without relying on luck.
The Art of Building: Your First Home
Building a house in Minecraft is not only about looks. Your first base is mainly a survival tool: it protects you from monsters, keeps your chests, bed, furnace, and crafting table in one place, and becomes the starting point for exploration.
For a first world, do not chase the perfect house immediately. A simple, closed, lit, easy-to-find base is better than a huge unfinished build when the sun goes down.
Choose the Right Location
Settle near useful resources:
- Trees to get wood quickly.
- Stone on a hillside or near a small cave.
- Water for farming, food, and later lava control.
- Animals for food, leather, and wool.
- Visible terrain so you can find your base again after exploring.
Avoid steep cliffs, open cave entrances right next to the door, very dark forests, and areas where you already hear many monsters. A small plateau, a plain near a river, or the side of a hill are strong beginner choices.
Gather Basic Materials
Your starter home can use very simple materials:
- Logs and planks: cut trees, then turn logs into planks. They make walls, floors, chests, doors, stairs, and slabs.
- Cobblestone: mine stone with a pickaxe. It gives you strong foundations, sturdy walls, and the furnace.
- Sand: collect sand near water, then smelt it in a furnace to make glass.
- Coal or charcoal: combine it with sticks to craft torches.
- Wool: collect it from sheep to craft a bed with three planks.
- Dirt: use it only as a temporary material if night arrives too quickly. It can save your life, but it does not need to become your permanent house.
At the start, a wood-and-stone house is more than enough. Save rare materials for tools, iron, chests, and useful items.
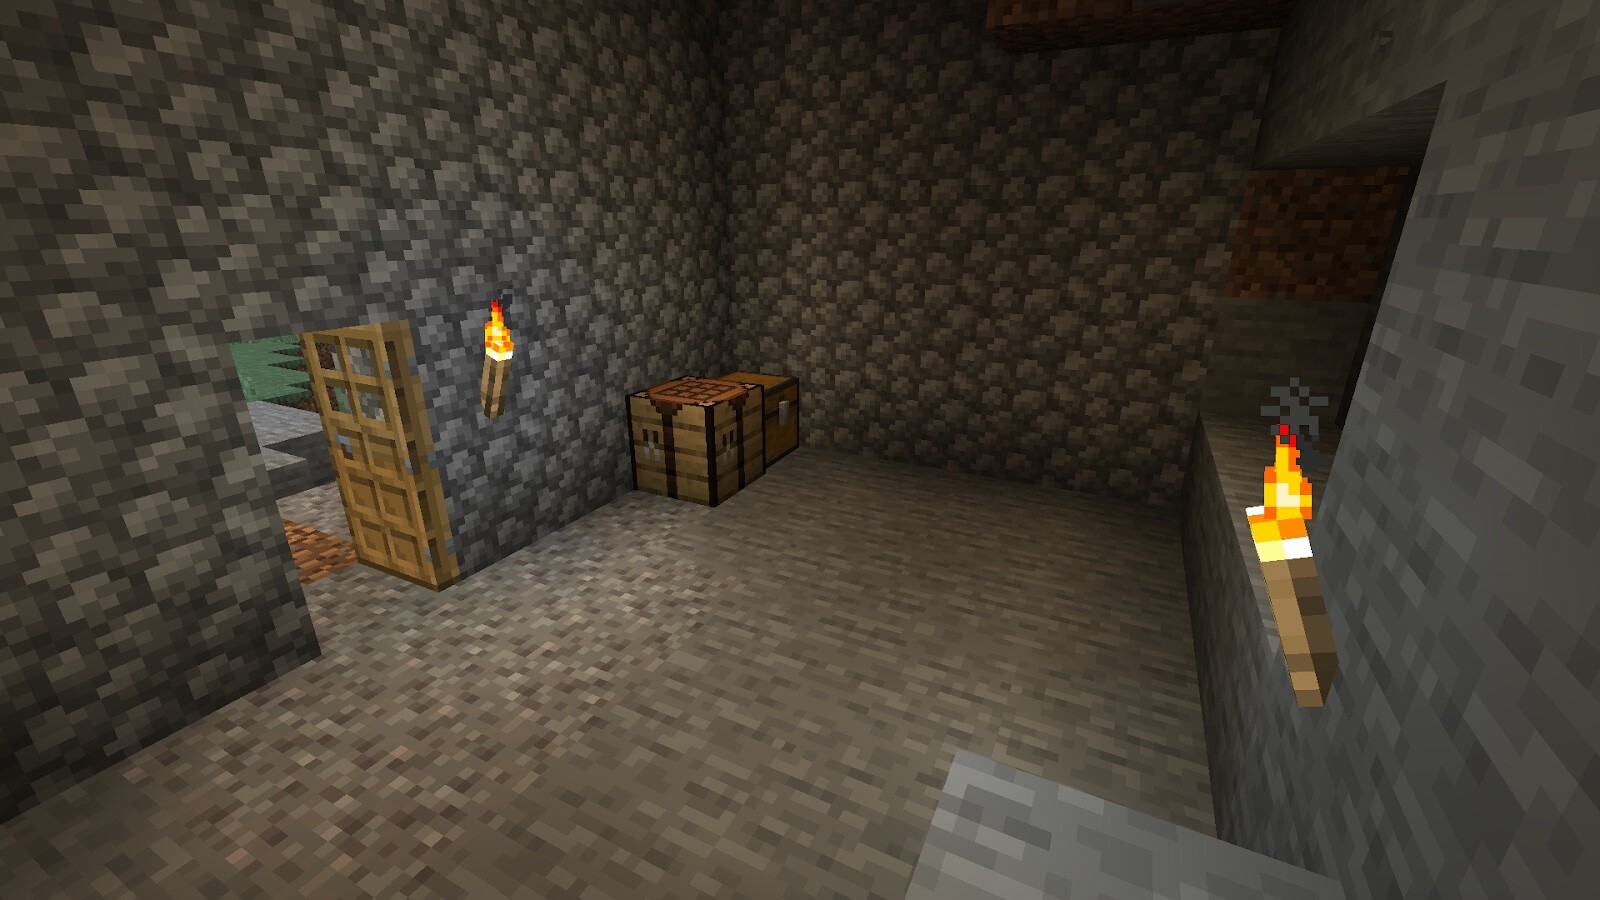
Even a temporary base carved into stone can work for the first night, as long as it is closed and lit. You can always build a better-looking house later.
Build a Functional Shelter
Your first house can be very simple:
- Mark a square or rectangle, for example 5x5 or 7x7 blocks on the ground.
- Raise the walls at least 3 blocks high so you have room inside.
- Close the roof completely to stop monsters from dropping or entering from above.
- Place a door at the entrance, or temporarily block the entrance with blocks if you do not have a door yet.
- Place torches inside, on the roof, and around the entrance.
- Add a crafting table, furnace, chest, and bed as soon as possible.
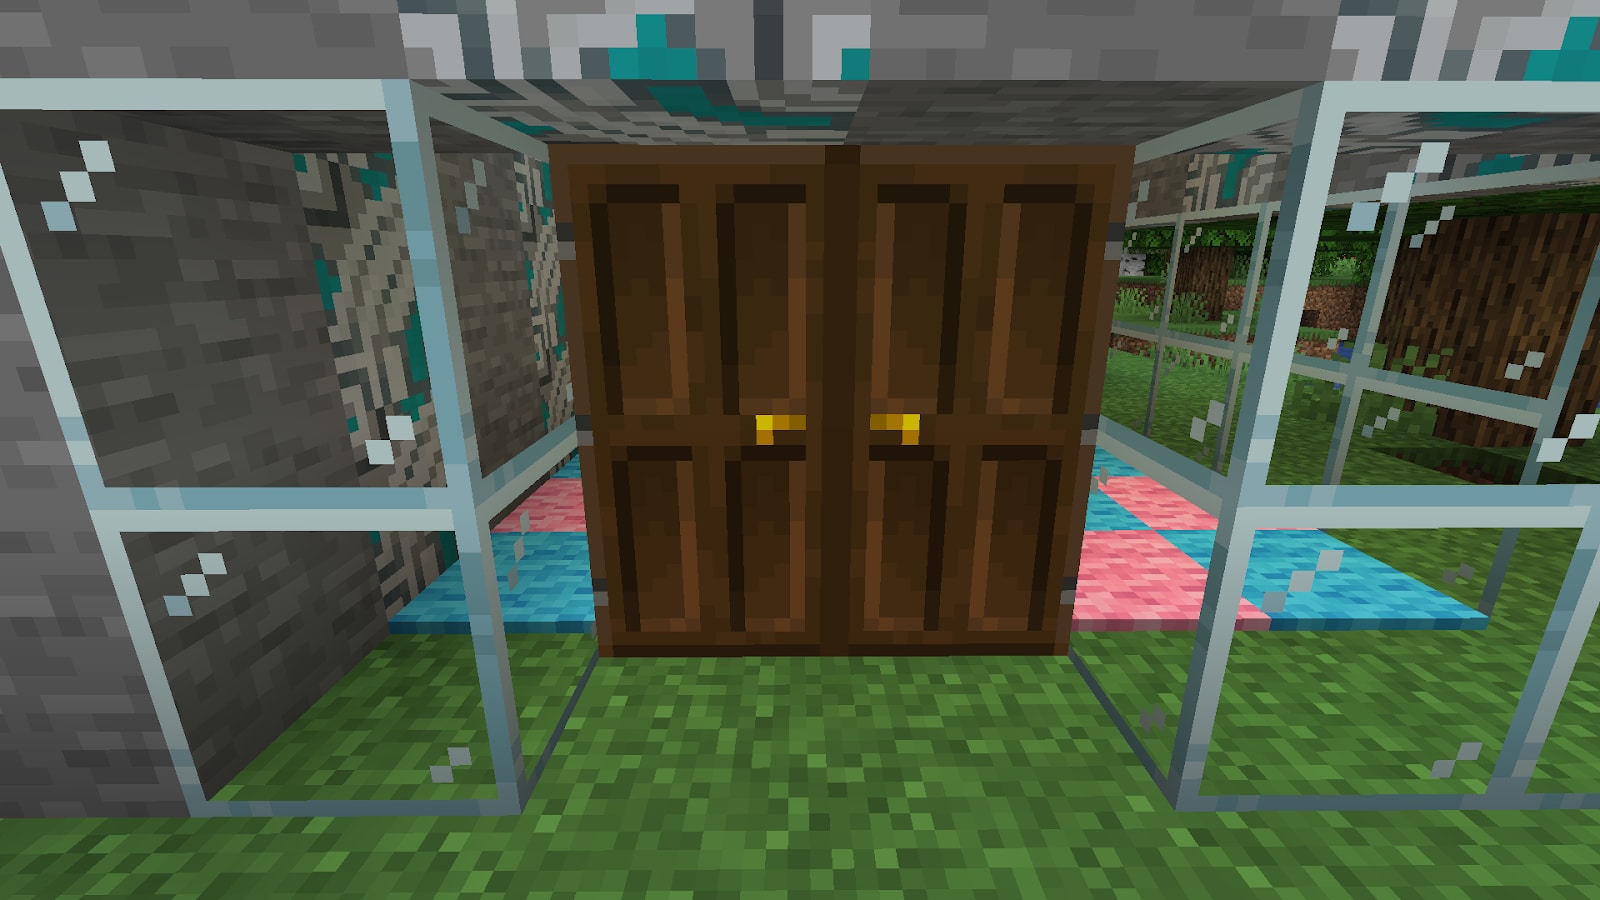
A door is not strictly required to survive the first night: you can block the entrance with two dirt or stone blocks. But a door quickly becomes essential because it lets you enter and leave without breaking the wall every time. A wooden door is crafted from six planks, and an iron door becomes useful later for more secure bases.
A simple door, surrounded by walls or windows, is already enough to separate the safe inside from the outside world.
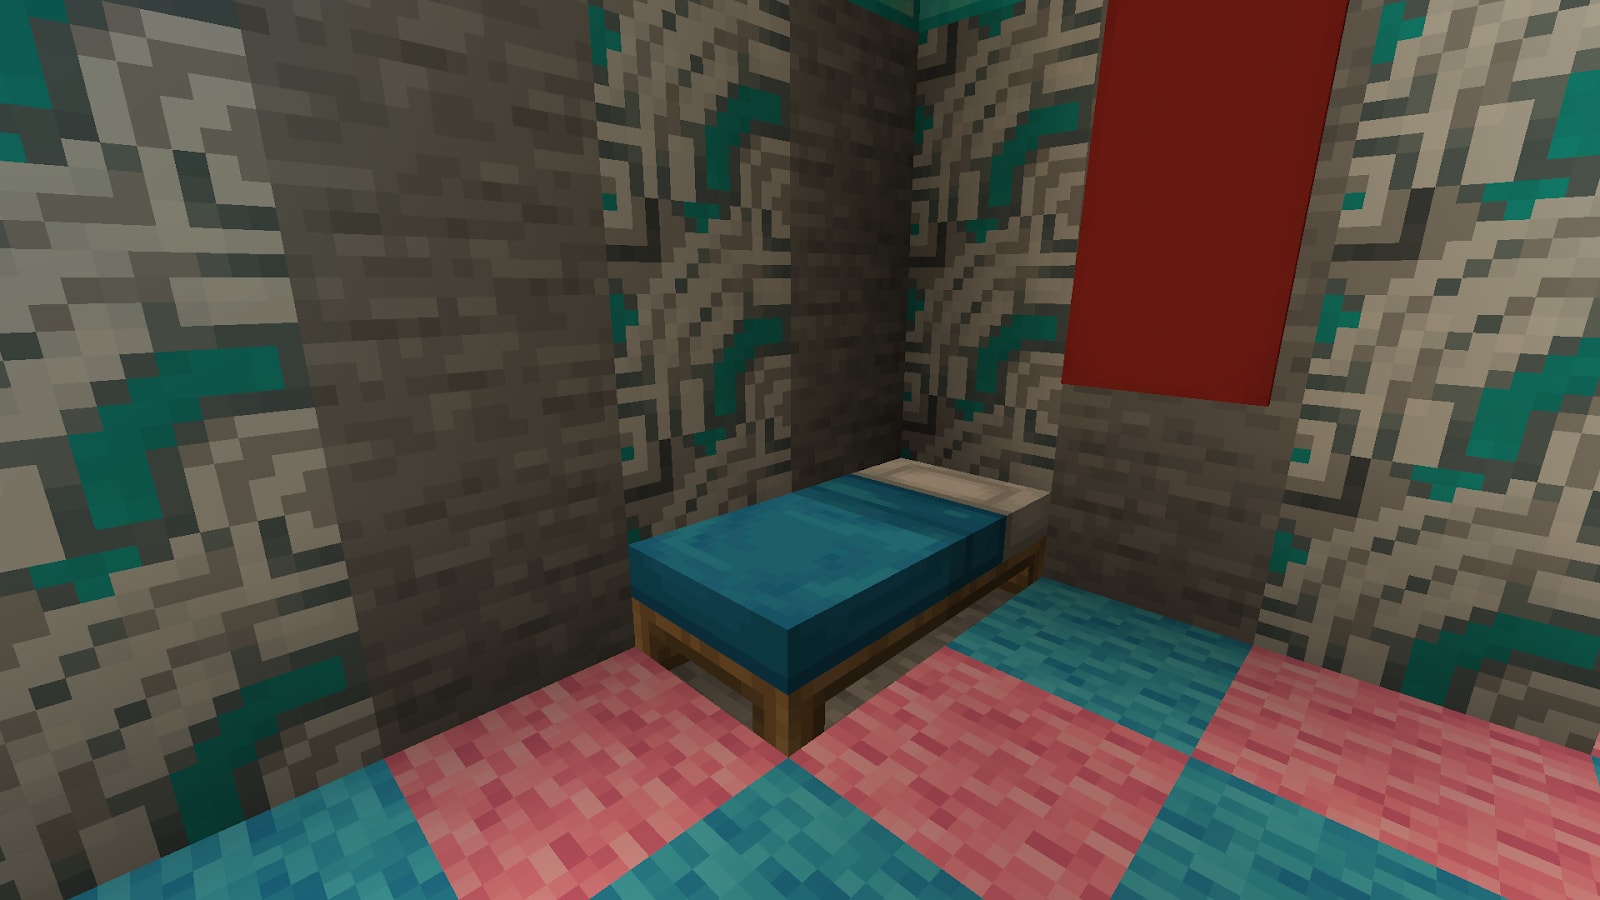
The bed is almost as important as the walls. Sleeping lets you skip the night and set your respawn point, as long as the area is safe enough. If monsters are too close, the game may refuse sleep. Place the bed in a closed, lit room with a little space around it.
A small lit room is enough. The important part is not leaving the bed outside or in a room open to monsters.
Once safety is covered, you can turn that practical shelter into a better-looking home.
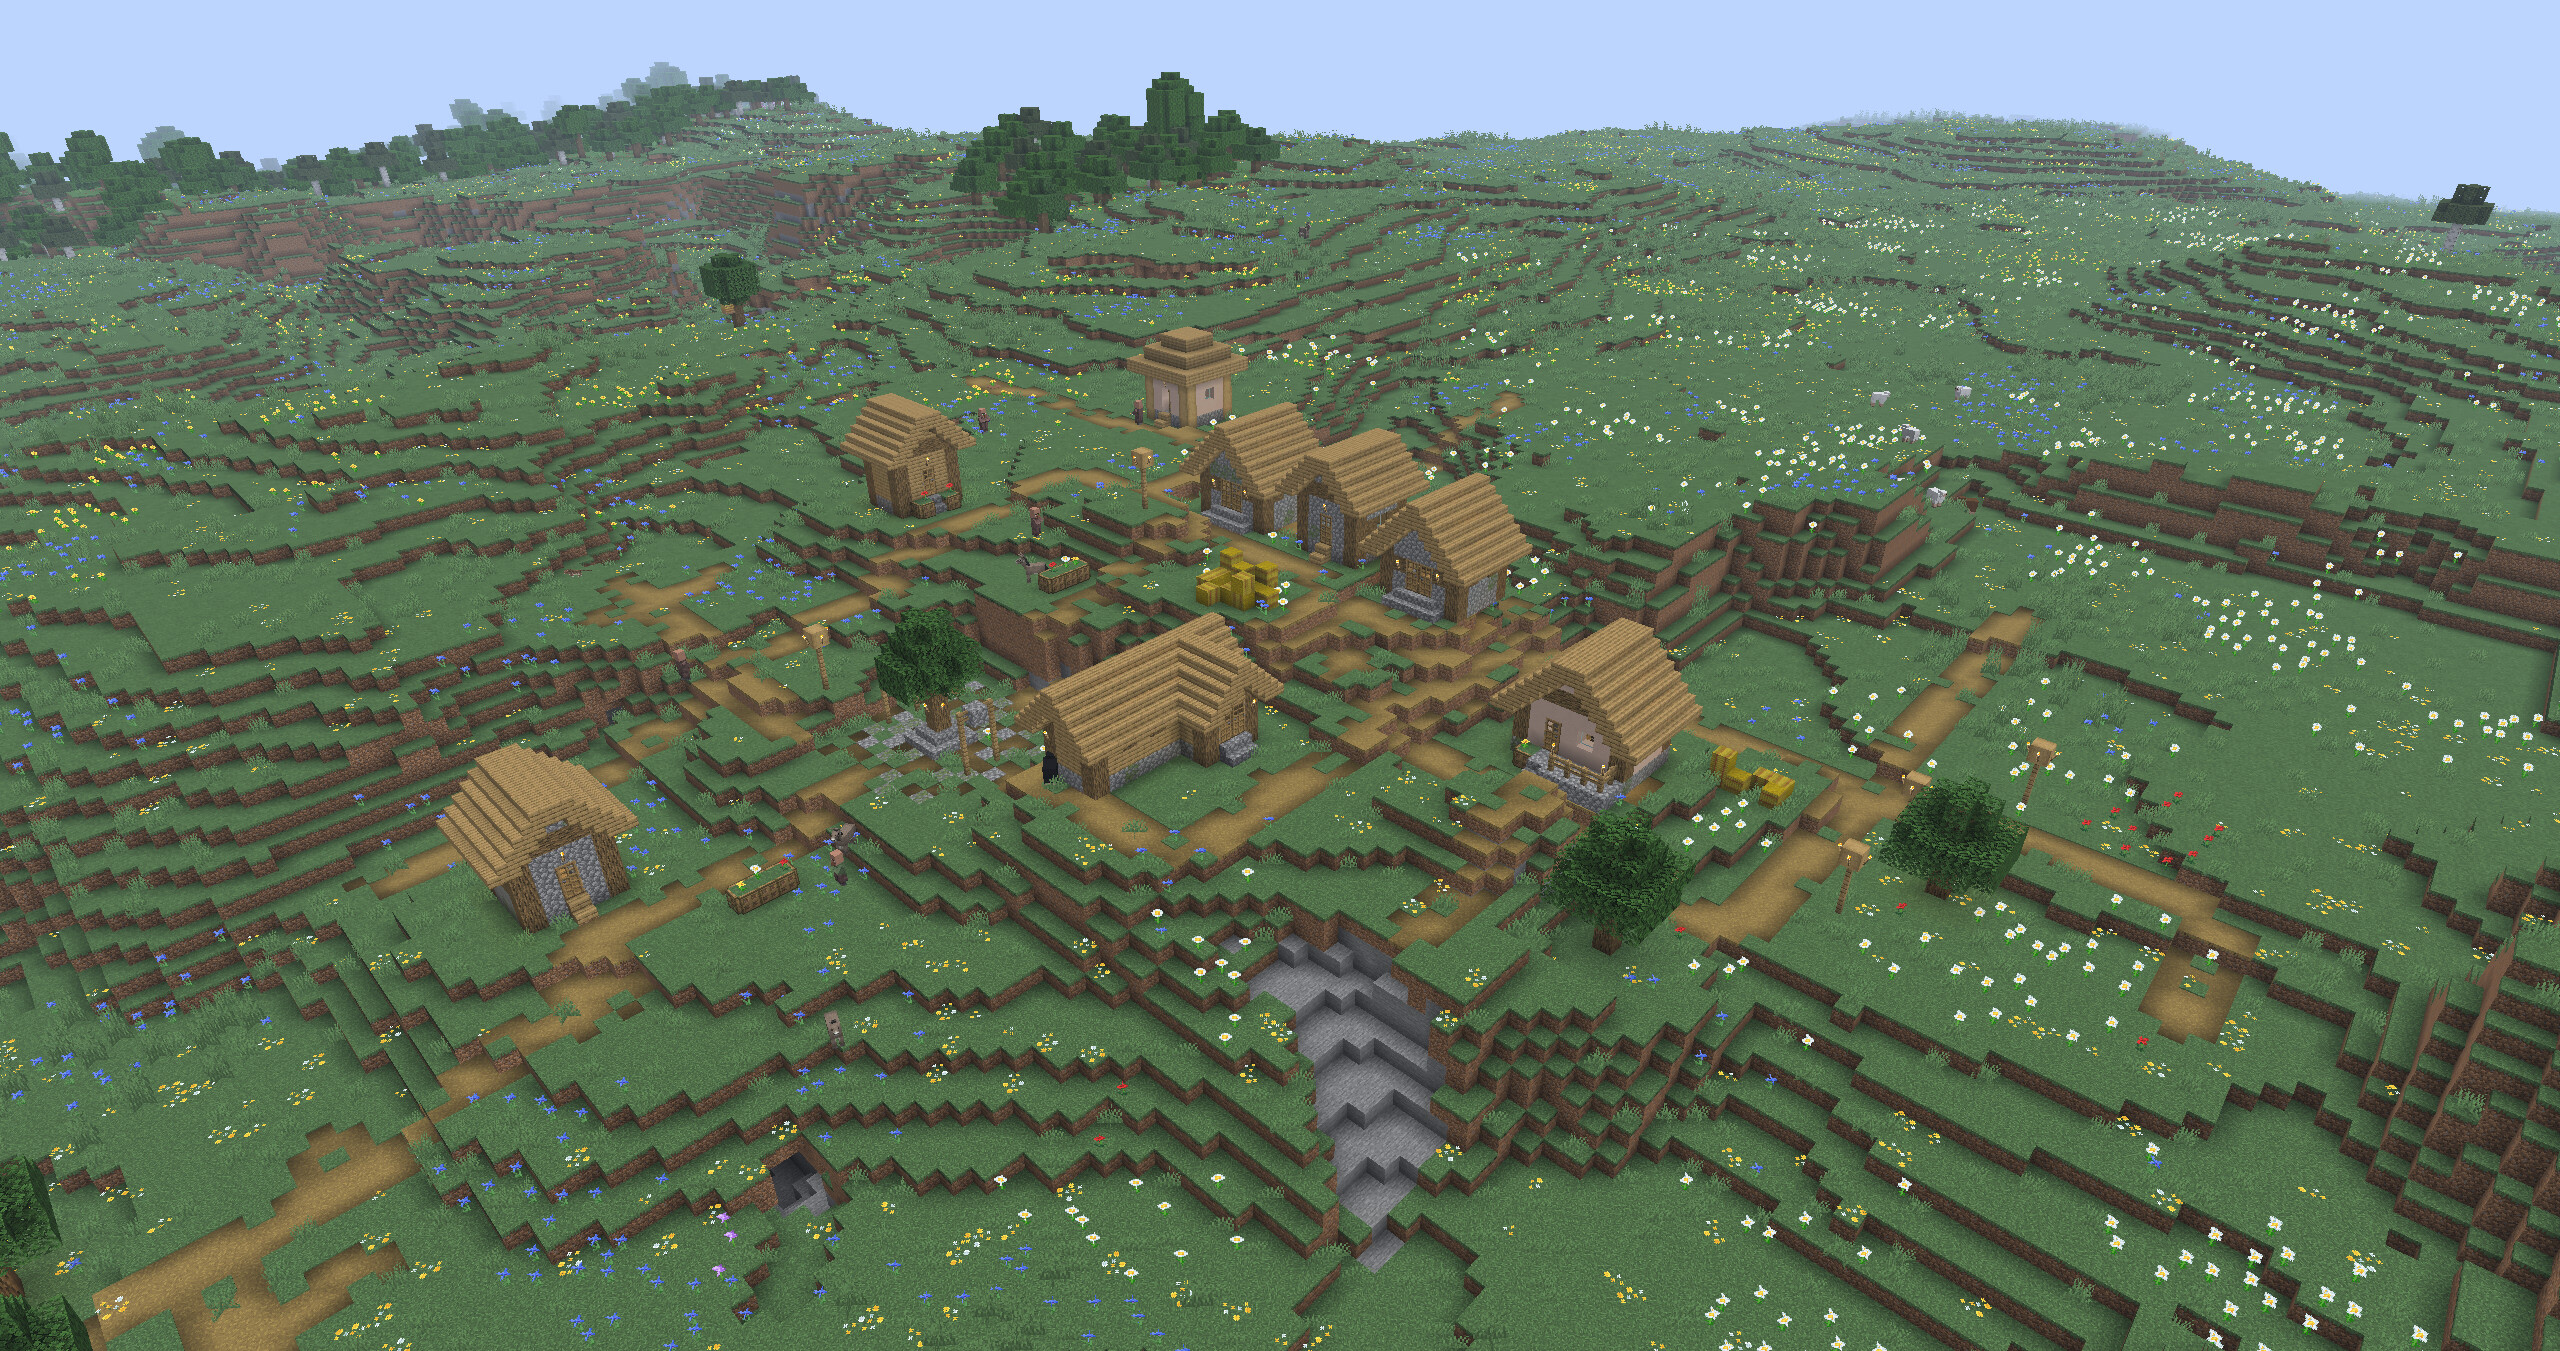
Improve the House Step by Step
Once the base is safe, you can improve it gradually:
- Frame the structure: place log pillars at the corners, slightly offset from the walls.
- Add windows: smelt sand into glass, then use glass panes to see outside without opening the house.
- Vary materials: use stone for foundations, wood for walls, and darker wood for the roof.
- Add depth: stairs and slabs can create a roof, window ledges, a covered entrance, or a small terrace.
- Organize the interior: keep chests, furnace, crafting table, and bed in logical places so every return from exploration is faster.
The goal is not to build big immediately. Build small, safe, readable, then expand when your resources and ideas are ready.
Secure the Area Around It
A closed house is not enough if the outside remains completely dark. Hostile mobs spawn in darkness, so light the places you use often:
- the main entrance.
- the roof.
- the path to your mine.
- farms and animal pens.
- areas around outdoor chests or workstations.
This small ring of light prevents many bad surprises, especially creepers waiting near the door in the morning.
Mobs in Minecraft: Friends and Foes
The world of Minecraft is populated by creatures called mobs. They fall into three main categories:
1. Passive Mobs (Friends)
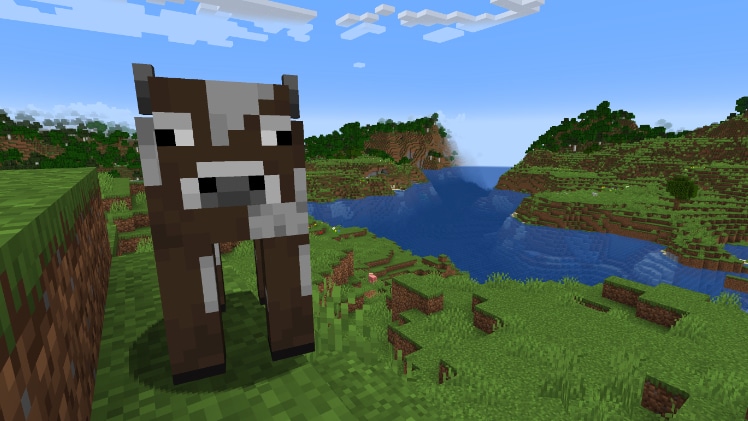
They will never attack you, even if you strike them:
- Cows, Sheep, Pigs, Chickens: your main sources of food and materials (wool, leather, feathers).
- Cats: you can tame them with raw cod or raw salmon. Once tamed, they scare creepers away!
- Villagers: passive NPC residents of villages who you can trade with.
2. Neutral Mobs
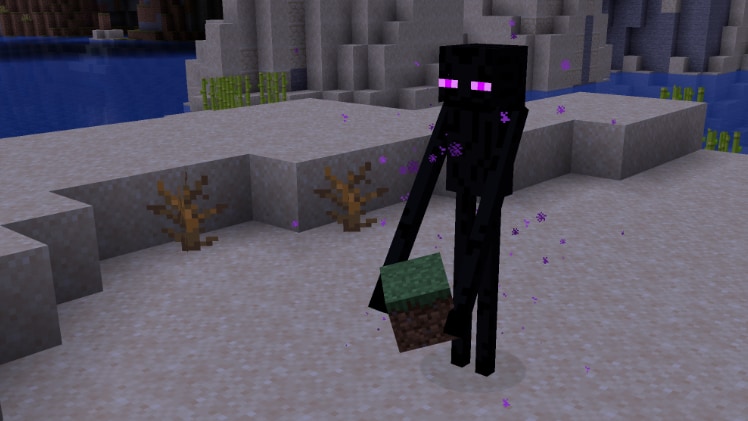
They only attack you if provoked:
- The Enderman: a tall, dark creature that can teleport. It becomes highly aggressive if you hit it or look it directly in the eyes. If targeted, run under a 2-block-high ceiling (since it is 3 blocks tall and cannot reach you) or step into water, which hurts it.
- Wild Wolves: if you hit one, the entire nearby pack will attack you. You can also tame them with bones; once tamed, dogs fight mobs that attack you.
- Iron Golems: the heavy protectors of villages. They hit extremely hard if you attack them or harm a villager, so do not test them early on.
3. Hostile Mobs (Foes)
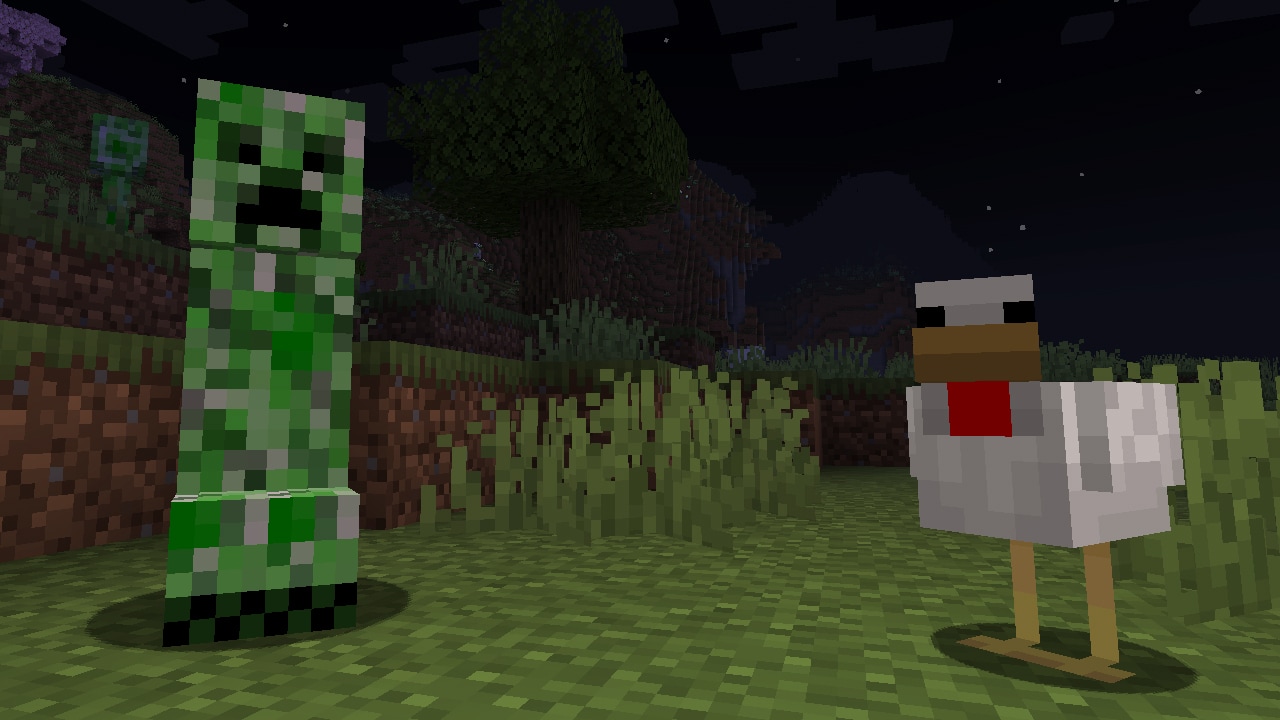
Most hostile mobs attack you on sight in the dark or inside caves. A few advanced threats, such as the Warden, only appear in specific places:
- The Zombie: slow and loud, attacks in melee. Easy to fight if you keep your distance.
- The Skeleton: shoots arrows from afar. Use your shield to block arrows while closing the distance to attack it.
- The Creeper: completely silent, sneaks up behind you and makes a hissing sound (Sssss) before exploding. Keep your distance, use a shield as soon as possible, and light the entrance to your base well.
- The Spider: fast, climbs walls, and leaps at you.
- The Warden: this is not an early-game monster. It can appear in the Deep Dark if you trigger too many sculk shriekers. Do not try to fight it at first: sneak, avoid noise, use wool to block vibrations, and leave the area if the Darkness effect starts building up.
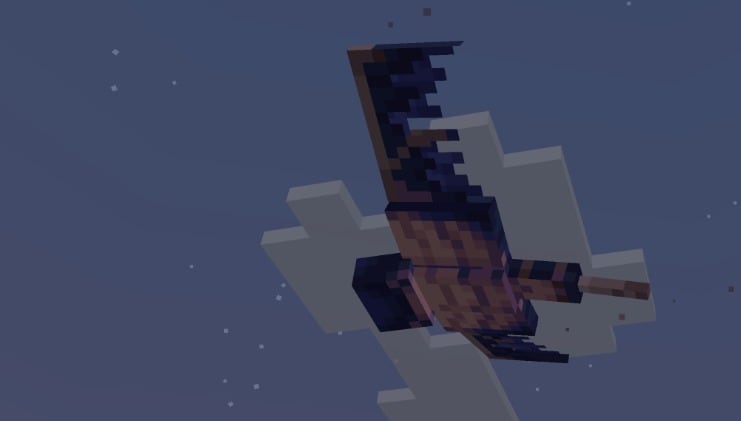
- The Phantom: a flying pest that spawns in the night sky if you haven’t slept in a bed for three or more consecutive in-game days. Sleep regularly to keep them away!
Explore Without Getting Lost
Minecraft’s world is procedurally generated and enormous at the scale of a normal playthrough, so losing your way home is very easy. Adopt these habits:
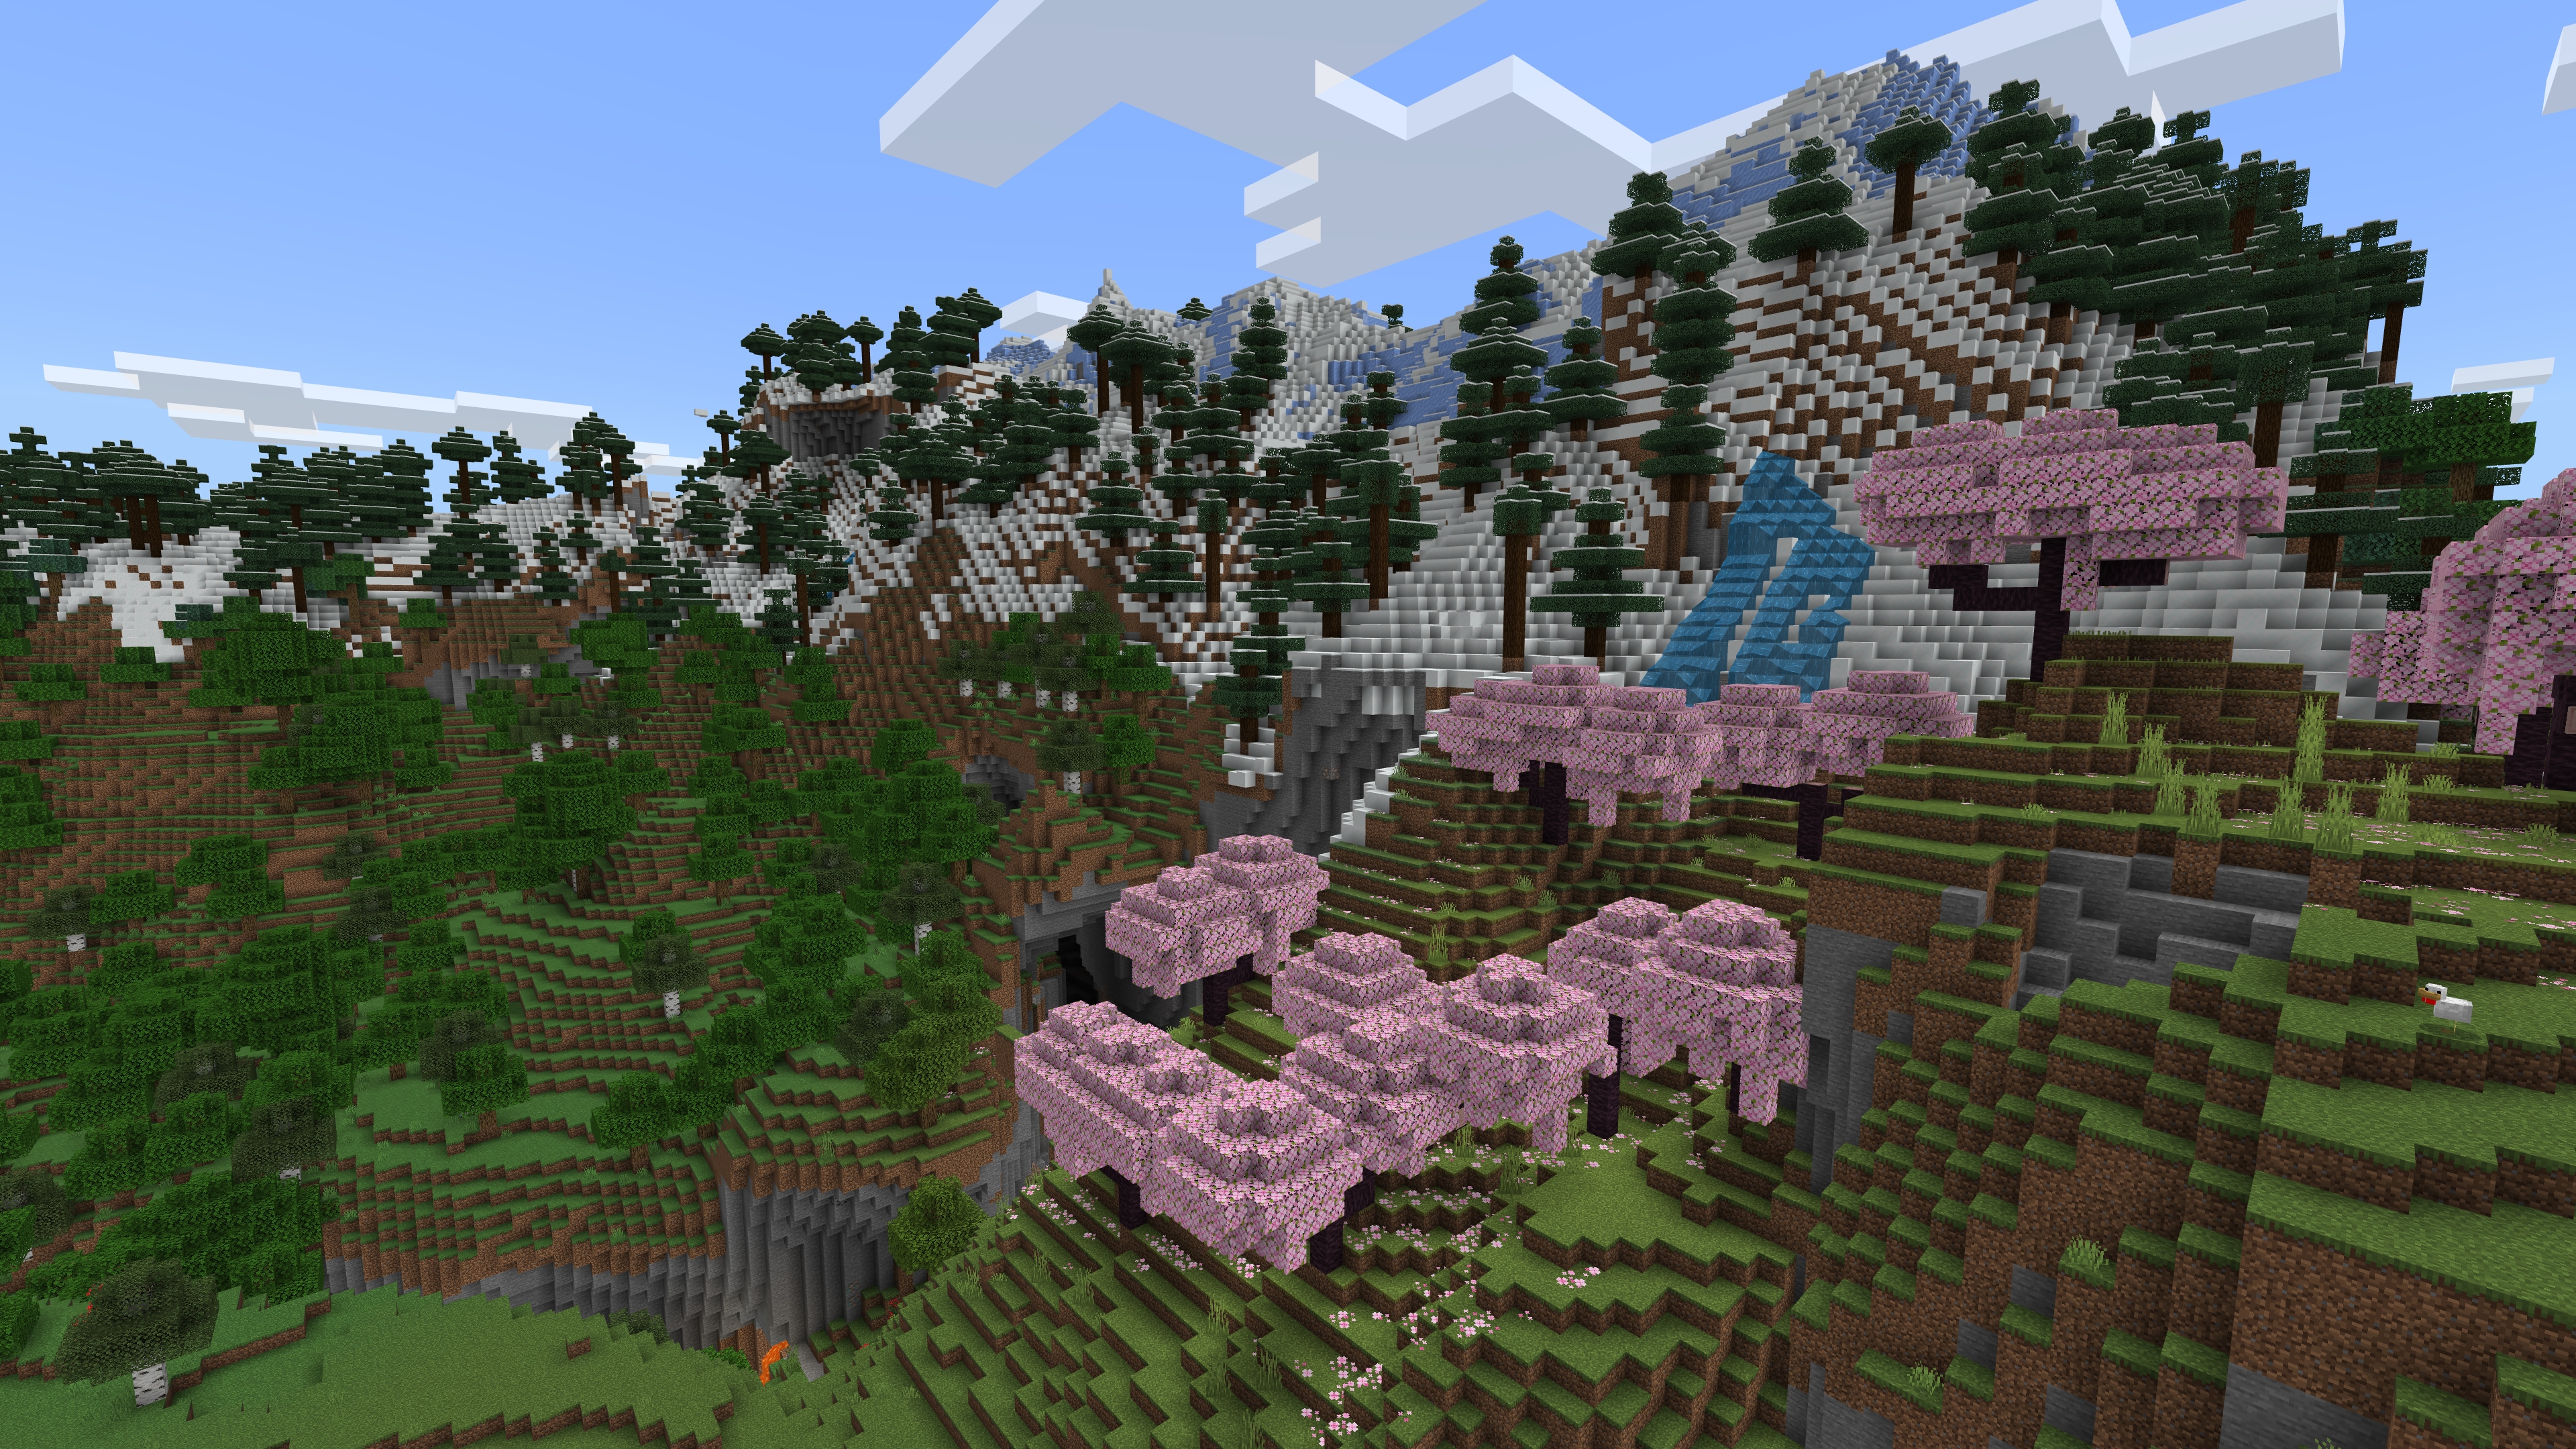
- Write down your coordinates: press
F3(on PC / Java Edition) to show the technical overlay. Write down the X, Y, and Z values of your home. On Bedrock Edition, enable « Show Coordinates » in world settings. - Build landmarks: a tall tower of dirt or stone topped with torches near your base will help you spot it from a distance.
The Infinite Possibilities of Vanilla Minecraft
Even without mods, vanilla Minecraft already opens many doors after the first few days: automate with redstone, trade with villagers, enchant equipment, brew potions, explore dangerous structures, enter the Nether, and later aim for the End.

Redstone carries signals and can power automatic doors, item sorters, farms, or security systems. Villagers let you trade resources for tools, food, or enchanted books. Enchanting and brewing come later, once your base produces enough leather, paper, ore, and experience.
Trial chambers: modern combat dungeons
Trial chambers are underground structures built around combat and rewards. They contain copper and tuff rooms, traps, chests, trial spawners, and vaults. When you approach a trial spawner, it sends waves of mobs at the players nearby. You can meet familiar enemies, but also the Breeze, a wind-based mob that pushes you around and disrupts movement.

Do not enter one right after your first night. Wait until you have at least decent armor, a shield, a reliable weapon, plenty of food, torches, blocks to reposition yourself, and ideally a bow. After the waves are cleared, the spawner can give loot, sometimes including a trial key. That key opens a vault in the chamber: each player gets their own chance at rewards, which makes trial chambers especially useful in multiplayer.
Deep Dark, ancient cities, and the Warden
The Deep Dark is a very low underground biome, recognizable by sculk blocks and its almost silent atmosphere. It can contain ancient cities with rare loot, but the main danger is not a normal mob pack. It is sound. Sculk sensors detect vibrations, sculk shriekers scream, and too many triggers can summon the Warden.

For a beginner, the rule is simple: the Warden is not a boss to defeat like the Ender Dragon. It is a threat to avoid. Sneak, move slowly, place wool to block vibrations, do not panic-mine everything, and keep a clear escape route. If the Warden appears, sprinting randomly is often worse than backing away, creating distance, and leaving the area.
From the Nether to the End portal
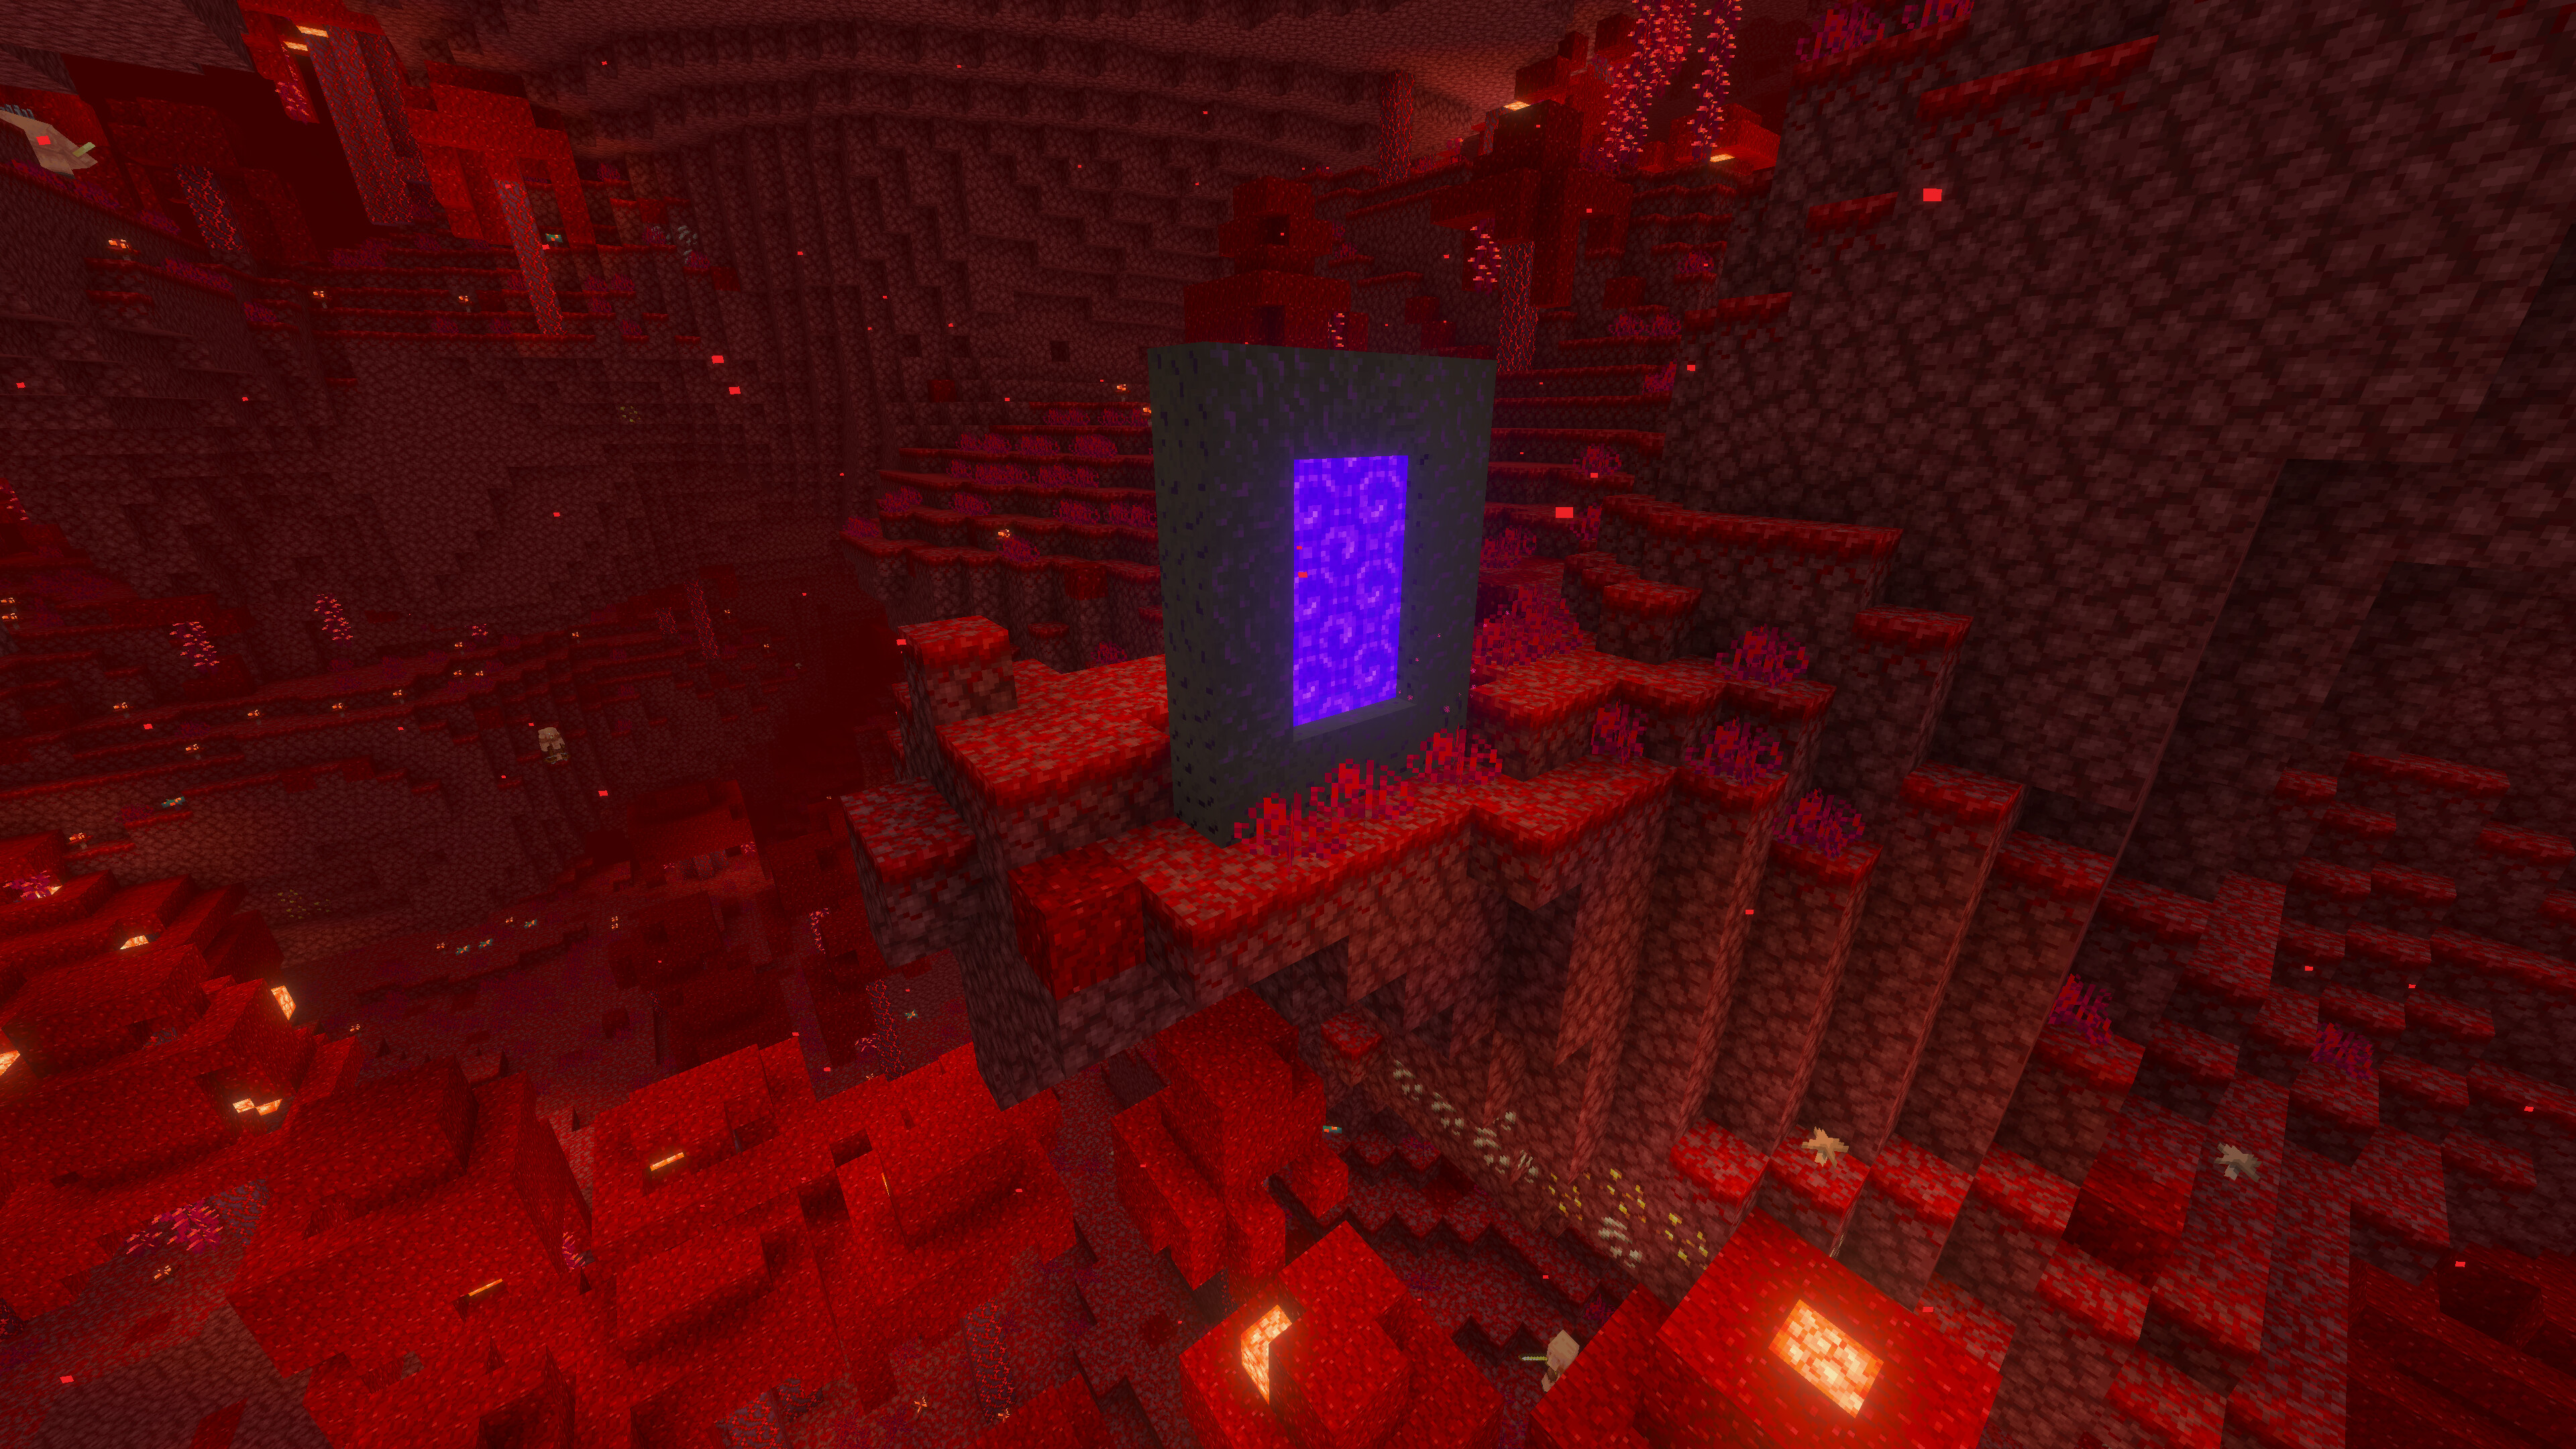
Minecraft also has progression through dimensions. The Overworld is the starting world. The Nether is a dangerous lava-filled dimension reached through an obsidian portal lit with flint and steel. It is where you collect important late-game resources: blaze rods from Nether fortresses, blaze powder, quartz, nether wart for potions, and sometimes materials to improve your gear.
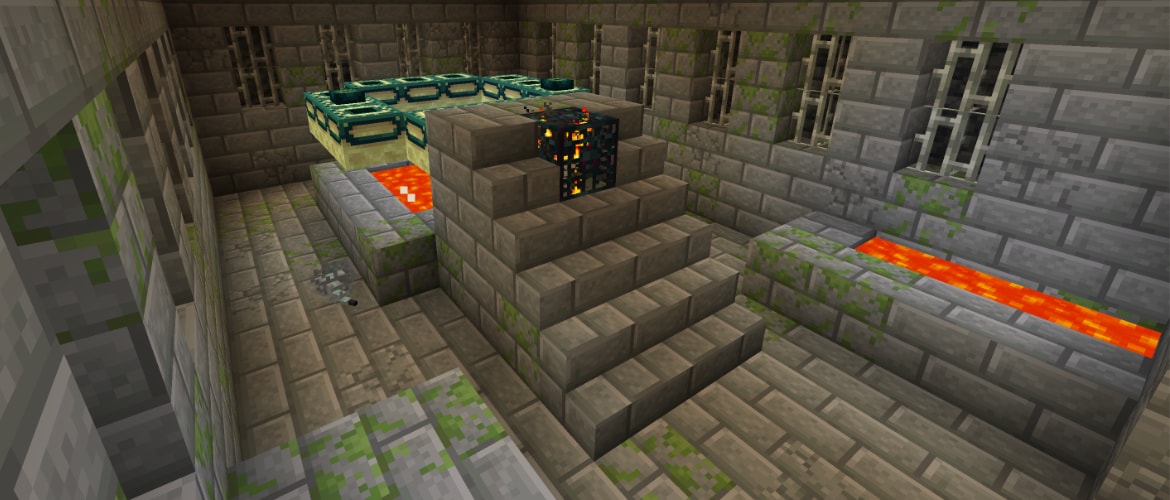
To find the End portal, craft eyes of ender with ender pearls and blaze powder. Use them in the Overworld: they fly toward a stronghold. Follow their direction, pick them back up when they drop, and bring far more than twelve, because some can break and the portal may still need several eyes to activate.
When an eye dives toward the ground, you are probably above the stronghold. Dig down carefully in a staircase pattern, explore the corridors, watch out for silverfish, and look for the portal room. Once all twelve frame slots are filled with eyes of ender, the portal activates and lets you enter the End.
Defeating the Ender Dragon without rushing
Before entering the End, prepare properly: iron or diamond armor, shield, bow, arrows, sword, pickaxe, building blocks, food, water bucket, and ideally slow falling potions. Also place a bed in the Overworld near the stronghold portal so you can respawn close to it if you die.
Once you arrive in the End, do not attack the dragon first. End crystals on top of the obsidian pillars heal it. Destroy those crystals first with a bow or by climbing carefully, while watching for explosions and iron-bar cages around some crystals.
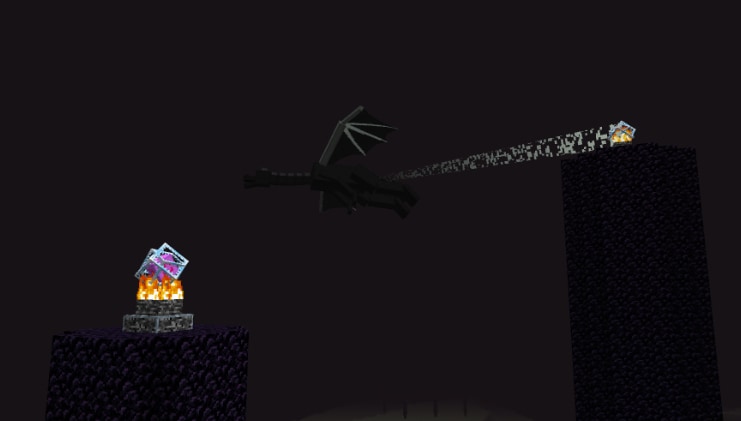
After the crystals are gone, shoot the dragon while it flies, then use your sword when it lands near the central portal. Avoid the purple breath, keep healing food ready, do not stare at Endermen, and always watch the void around the island. After the victory, you receive a large amount of experience, a dragon egg appears, the return portal opens, and an End gateway can later take you to the outer islands and End cities.
Extreme Customization: Mods, Plugins, and Shaders
Minecraft’s community has built a huge ecosystem around the game. Once the vanilla basics are clear, you can change the experience in several ways.

Mods add content or change mechanics. Modpacks combine multiple mods to turn Minecraft into a tech adventure, RPG exploration, or a completely different progression path. Resource packs replace textures and sounds, while shaders change lighting, shadows, and reflections. Plugins run on servers to add economy, protections, minigames, or administration tools without requiring vanilla players to install mods.
Play With Friends
Before joining multiplayer, it is usually better to start in your own world, or on a small private, whitelisted server even if you play solo. You control difficulty, rules, backups, commands, and experiments. This gives you time to understand what Minecraft really allows: building, exploring, testing mechanics, organizing a base, and learning what each choice does.
Once you have those basics, multiplayer becomes much easier to enjoy. Starting directly on a large public server, especially a PvP server, can be harsh: competition, raids, combat, economy, and constant pressure. For a first experience, discover Minecraft in a space you control.
Minecraft then becomes a shared adventure: group exploration, towns, mini-games, modded worlds, or a server that stays online all the time.

Before playing together, agree on a few basic rules: who can build where, which chests are protected, how shared resources work, and whether commands or cheats are allowed. For a persistent world, you can then move to a hosted Minecraft server.
Common Mistakes to Avoid
- Digging straight down.
- Going out at night without food or torches.
- Exploring without writing down base coordinates.
- Carrying all rare items during risky trips.
- Building too big before you have resources.
- Forgetting to light your house and surroundings.
- Ignoring the shield against skeletons and creepers.
Minecraft is a game of trial and error. Dying, losing a house, or failing a build is part of the learning process. The key is to keep simple goals and improve step by step.
Once you understand the basics, you can turn a solo world into a shared adventure. To play with friends on a world that stays online, launch your Minecraft server on BoxToPlay and build your own adventure together.
More Articles
Minecraft and VPS Summer Sale: 60% Off BoxToPlay
July 06, 2026Choupy, the BoxToPlay Assistant
July 04, 2026Top Minecraft mods of June 2026: our week 4 selection
June 22, 2026Minecraft 26.2 Chaos Cubed is now available
June 16, 2026