
Introduction
n8n is a workflow automation platform that runs very well on a Linux VPS server. In this tutorial, we show you step by step how to:
- deploy n8n on Linux with Docker Compose;
- prepare a clean
.envfile for the instance; - access the final web interface from a URL such as
http://your-ip:5678/; - complete the n8n owner account creation on first startup.
This guide is written for Debian or Ubuntu style distributions, like the ones you can run on a BoxToPlay VPS server.
1. Server prerequisites
Before starting, make sure you have:
- an up to date Linux server (Debian or Ubuntu);
- SSH access with a user that can use
sudo; - Docker and Docker Compose installed.
Example system update output:
apt update && apt upgrade -y
Example output:
Hit:1 http://deb.debian.org/debian bookworm InRelease
Get:2 http://security.debian.org bookworm-security InRelease [48.0 kB]
...
Reading package lists... Done
Calculating upgrade... Done
If Docker is not installed yet, or if you want to start from a clean base, you can use this sequence:
sudo apt remove $(dpkg --get-selections docker.io docker-compose docker-compose-v2 docker-doc podman-docker containerd runc | cut -f1)
curl -fsSL https://get.docker.com -o get-docker.sh
sudo sh get-docker.sh
Once Docker is installed, verify:
docker --version
docker compose version
Example output:
Docker version 26.1.0, build ...
Docker Compose version v2.27.0
2. Create the n8n directory layout
We will keep the n8n configuration inside a dedicated directory.
mkdir -p /opt/n8n-docker
cd /opt/n8n-docker
We will create:
- a
docker-compose.ymlfile to describe the service; - a
.envfile to store the instance configuration.
3. Create the n8n .env file
n8n natively handles owner account creation and access to the interface. We mainly need to define the base instance variables so the public URL stays consistent.
Create a .env file inside /opt/n8n-docker:
nano .env
Recommended content, adapt it to your case:
N8N_HOST=your-domain-or-ip
N8N_PORT=5678
N8N_PROTOCOL=http
N8N_EDITOR_BASE_URL=http://your-domain-or-ip:5678
N8N_SECURE_COOKIE=false
GENERIC_TIMEZONE=America/New_York
Save and exit.
If you expose n8n directly over HTTP on an IP or domain without an HTTPS reverse proxy, keep
N8N_SECURE_COOKIE=false. Without this variable, n8n may show a secure cookie error on the owner account creation screen. If you later place the instance behind an HTTPS reverse proxy, adjustN8N_PROTOCOLandN8N_EDITOR_BASE_URL, then remove this variable.
4. Create the n8n docker-compose.yml
Still inside /opt/n8n-docker, create the file:
nano docker-compose.yml
Paste the following configuration:
services:
  n8n:
    image: n8nio/n8n:latest
    container_name: n8n
    restart: unless-stopped
    env_file:
      - .env
    ports:
      - "5678:5678"
    volumes:
      - /opt/n8n-data:/home/node/.n8n
Quick explanation:
portsexposes n8n on port 5678 of your VPS;volumespersists data, including workflows, credentials and settings, on disk at/opt/n8n-data.
Create the data directory and adjust its permissions:
mkdir -p /opt/n8n-data
chown -R 1000:1000 /opt/n8n-data
5. Start n8n with Docker Compose
We can now start the service in the background:
docker compose up -d
Example output:
[+] Running 2/2
 ✔ Network n8n-docker_default  Created
 ✔ Container n8n              Started
Check the container status:
docker ps
Example output:
CONTAINER ID   IMAGE         COMMAND        STATUS          NAMES
abcd1234efgh   n8nio/n8n     "tini -- n8n"  Up 30 seconds   n8n
6. Create the n8n owner account and access the interface
From your computer, open a browser and access the following URL, replacing it with your VPS IP or domain:
http://your-ip:5678/
On a fresh n8n instance, the first page you see is the owner account creation screen:
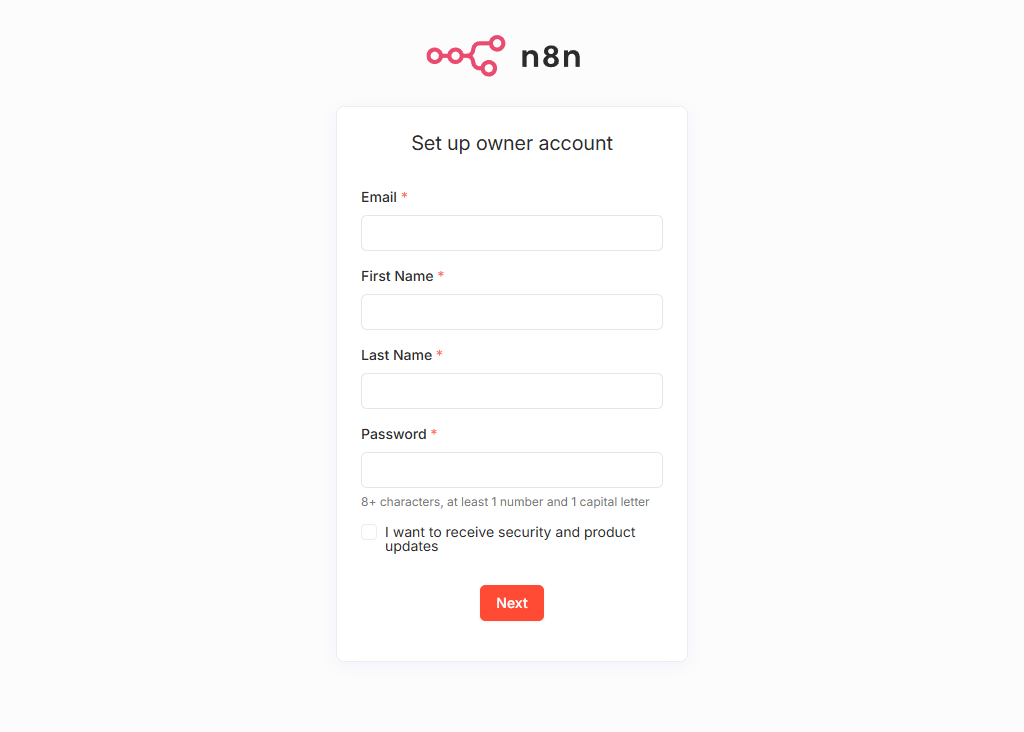
Enter your email address, first name, last name and an n8n password, then submit the form.
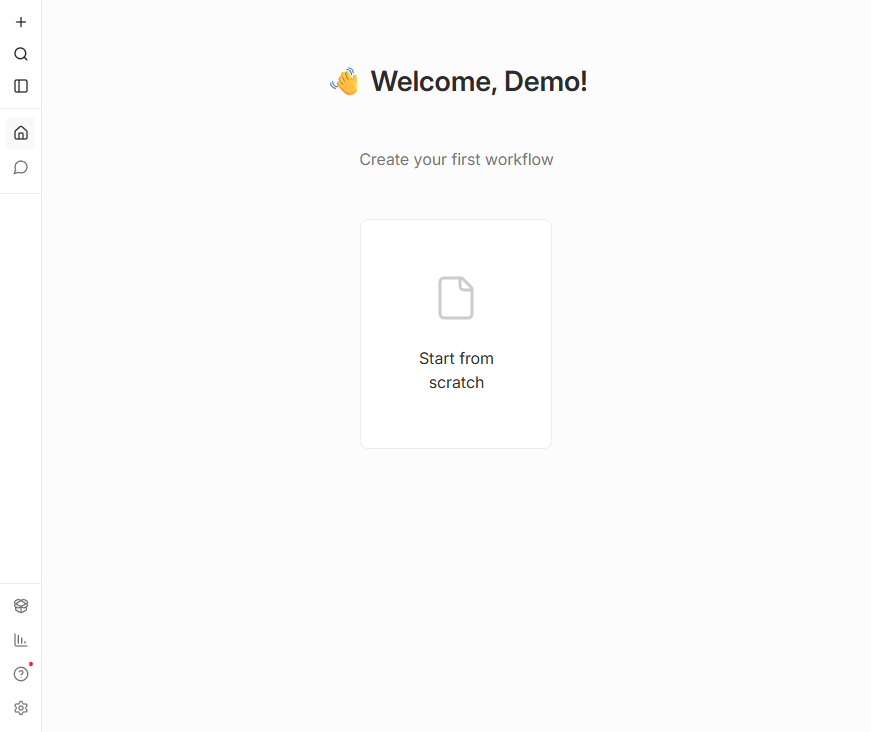
Depending on the n8n version, a short welcome questionnaire may then appear, followed by a free license prompt. These steps are optional: click Get started, then Skip to access the main dashboard directly.
You then arrive on the base n8n dashboard:
Your final instance is therefore available at:
http://your-ip:5678/
On first launch, n8n asks you to create the owner account. After that, you log back in with those same credentials through the native n8n login screen.
7. Stop or restart n8n
To stop n8n cleanly:
docker compose down
Example output:
[+] Running 2/2
 ✔ Container n8n              Removed
 ✔ Network n8n-docker_default Removed
To start it again:
docker compose up -d
All workflows and settings are preserved in /opt/n8n-data.
8. Go further on your VPS
Once n8n is up and running, you can:
- build your first automation workflows;
- connect your APIs and internal services;
- add HTTPS through a reverse proxy for a cleaner public setup.
For hosting this kind of tool, a VPS server is particularly well suited. At BoxToPlay, we provide reliable and high performance VPS hosting, ideal for this type of lightweight Docker stack.
Conclusion
You now have a complete tutorial to install n8n on Linux with Docker Compose, prepare the base instance variables and access the web interface to create the n8n owner account. If you want to test this deployment on a clean machine, you can start your free VPS trial.
More Articles
Install Docker on Linux: A Practical Getting Started Guide
May 10, 2026How to install Apache2 on a BoxToPlay Linux VPS
April 30, 2026What is a VPS server?
June 09, 2025Discover the latest BoxToPlay updates!
March 28, 2025